[GUIDE] How to create a Webinar Funnel on CrocoClick
Find out how to create a complete webinar funnel on CrocoClick, live or pre-recorded: form, pages and personalization.
Written By CrocoTeam
Last updated 4 months ago
This article explains step by step how to create a webinar funnel with CrocoClick—whether live or pre-recorded.
From creating the form to automating emails, everything you need to launch your webinar quickly and efficiently is right here.
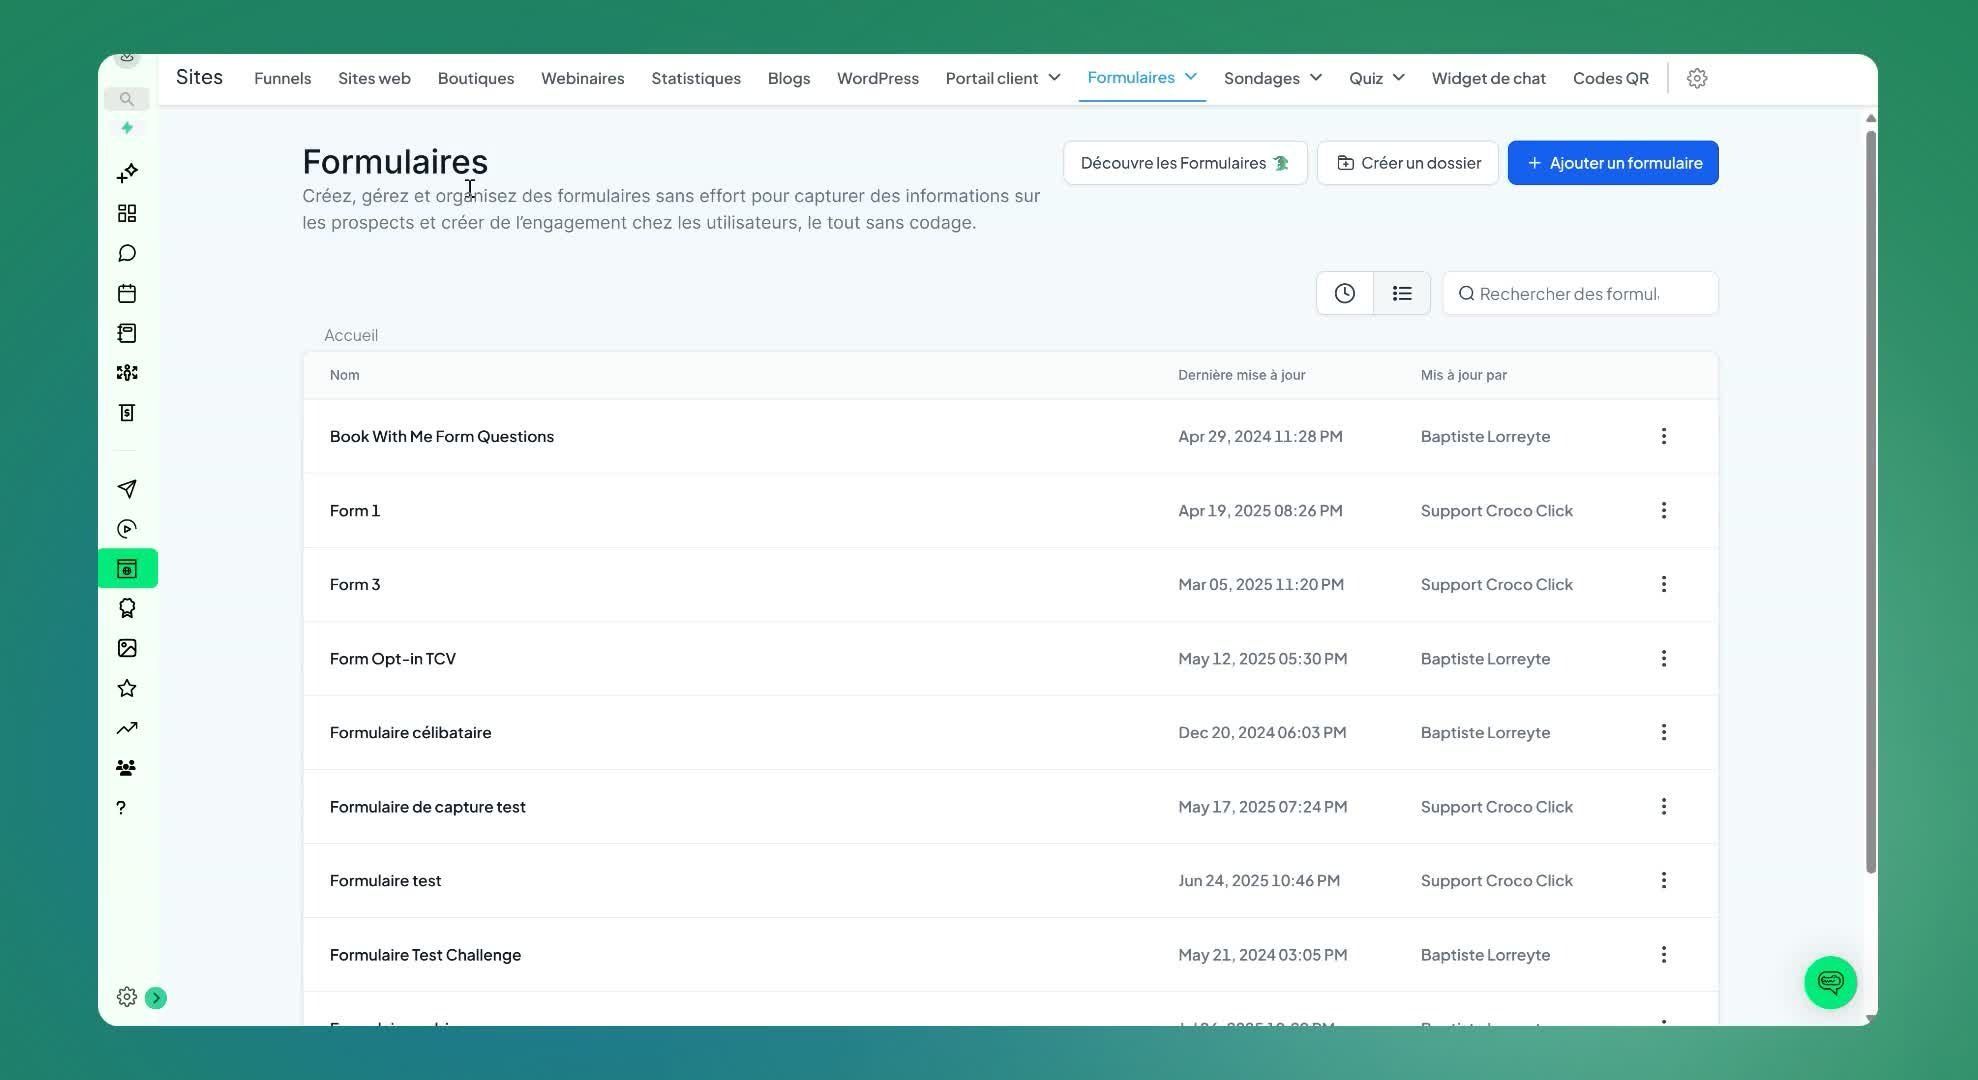
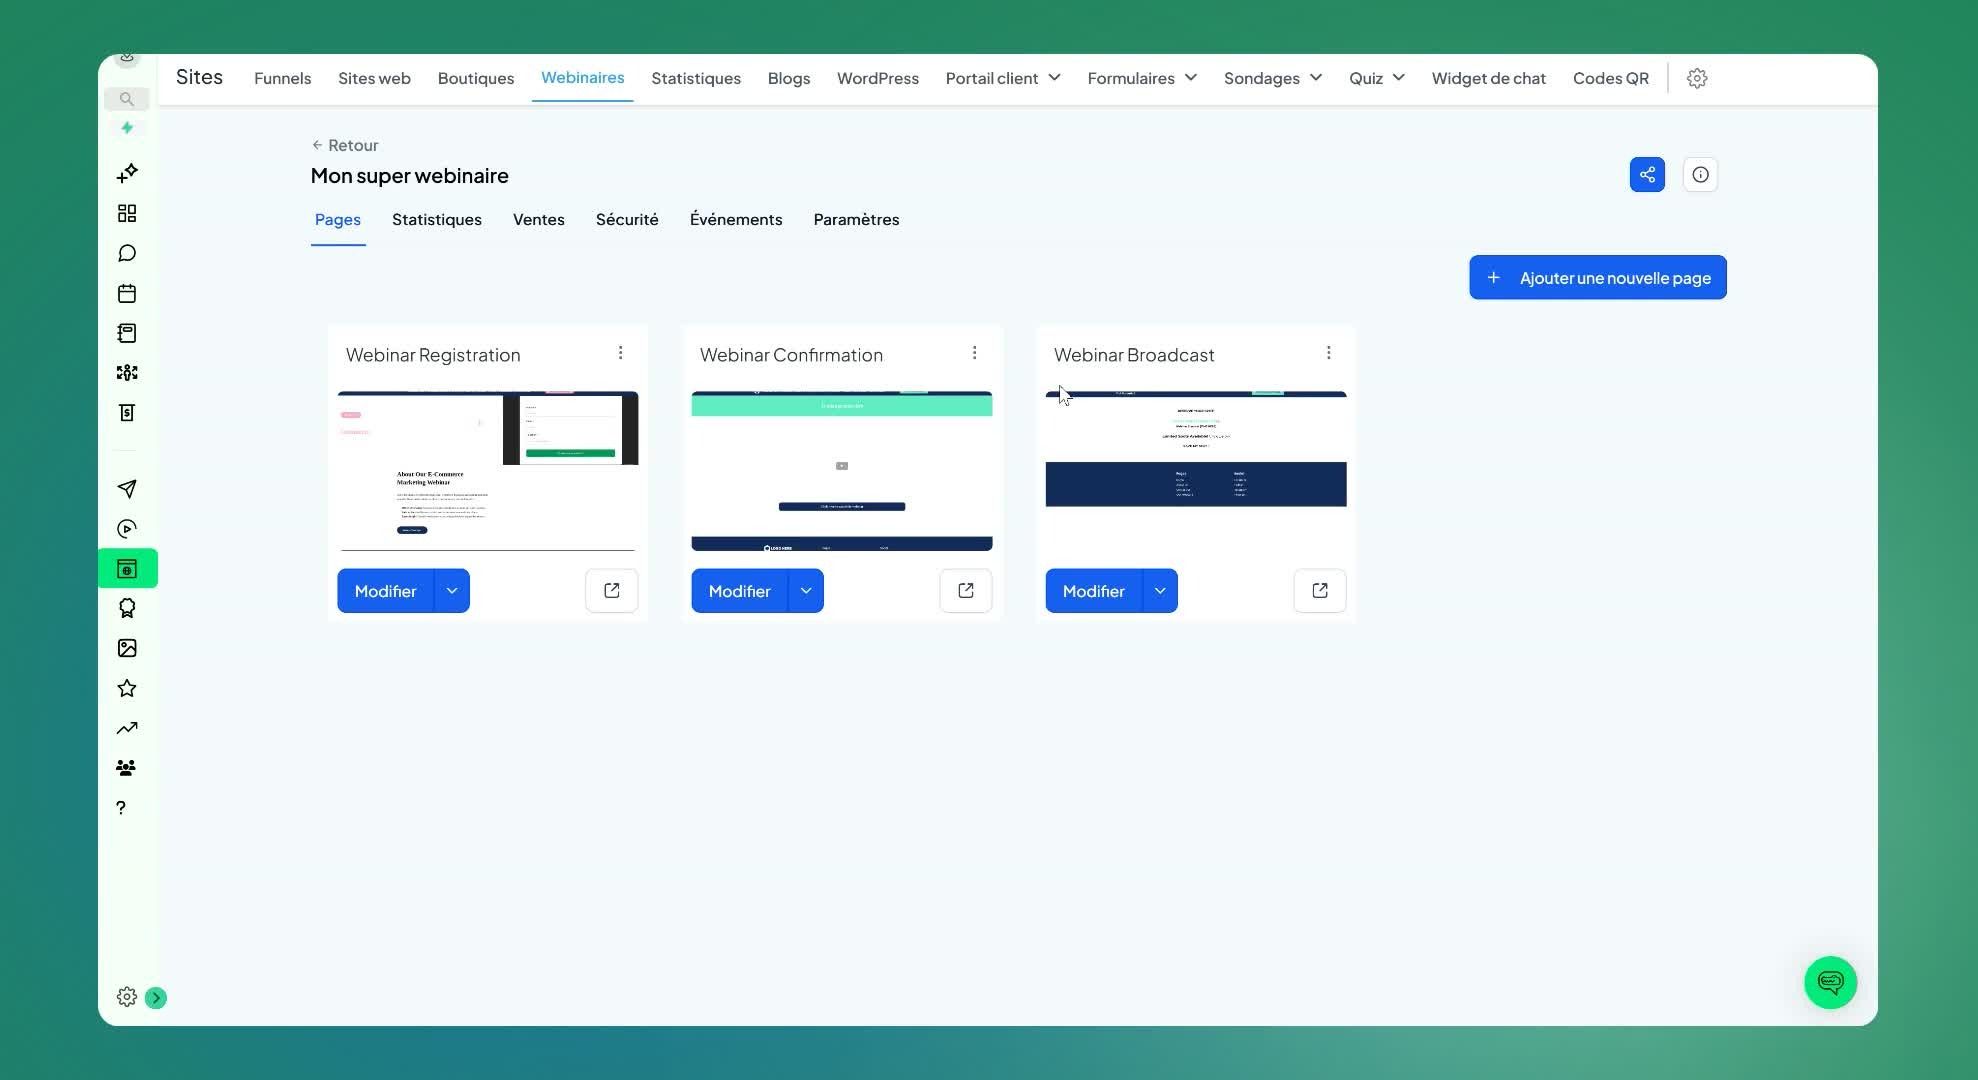
Step 1: Go to the Webinar section
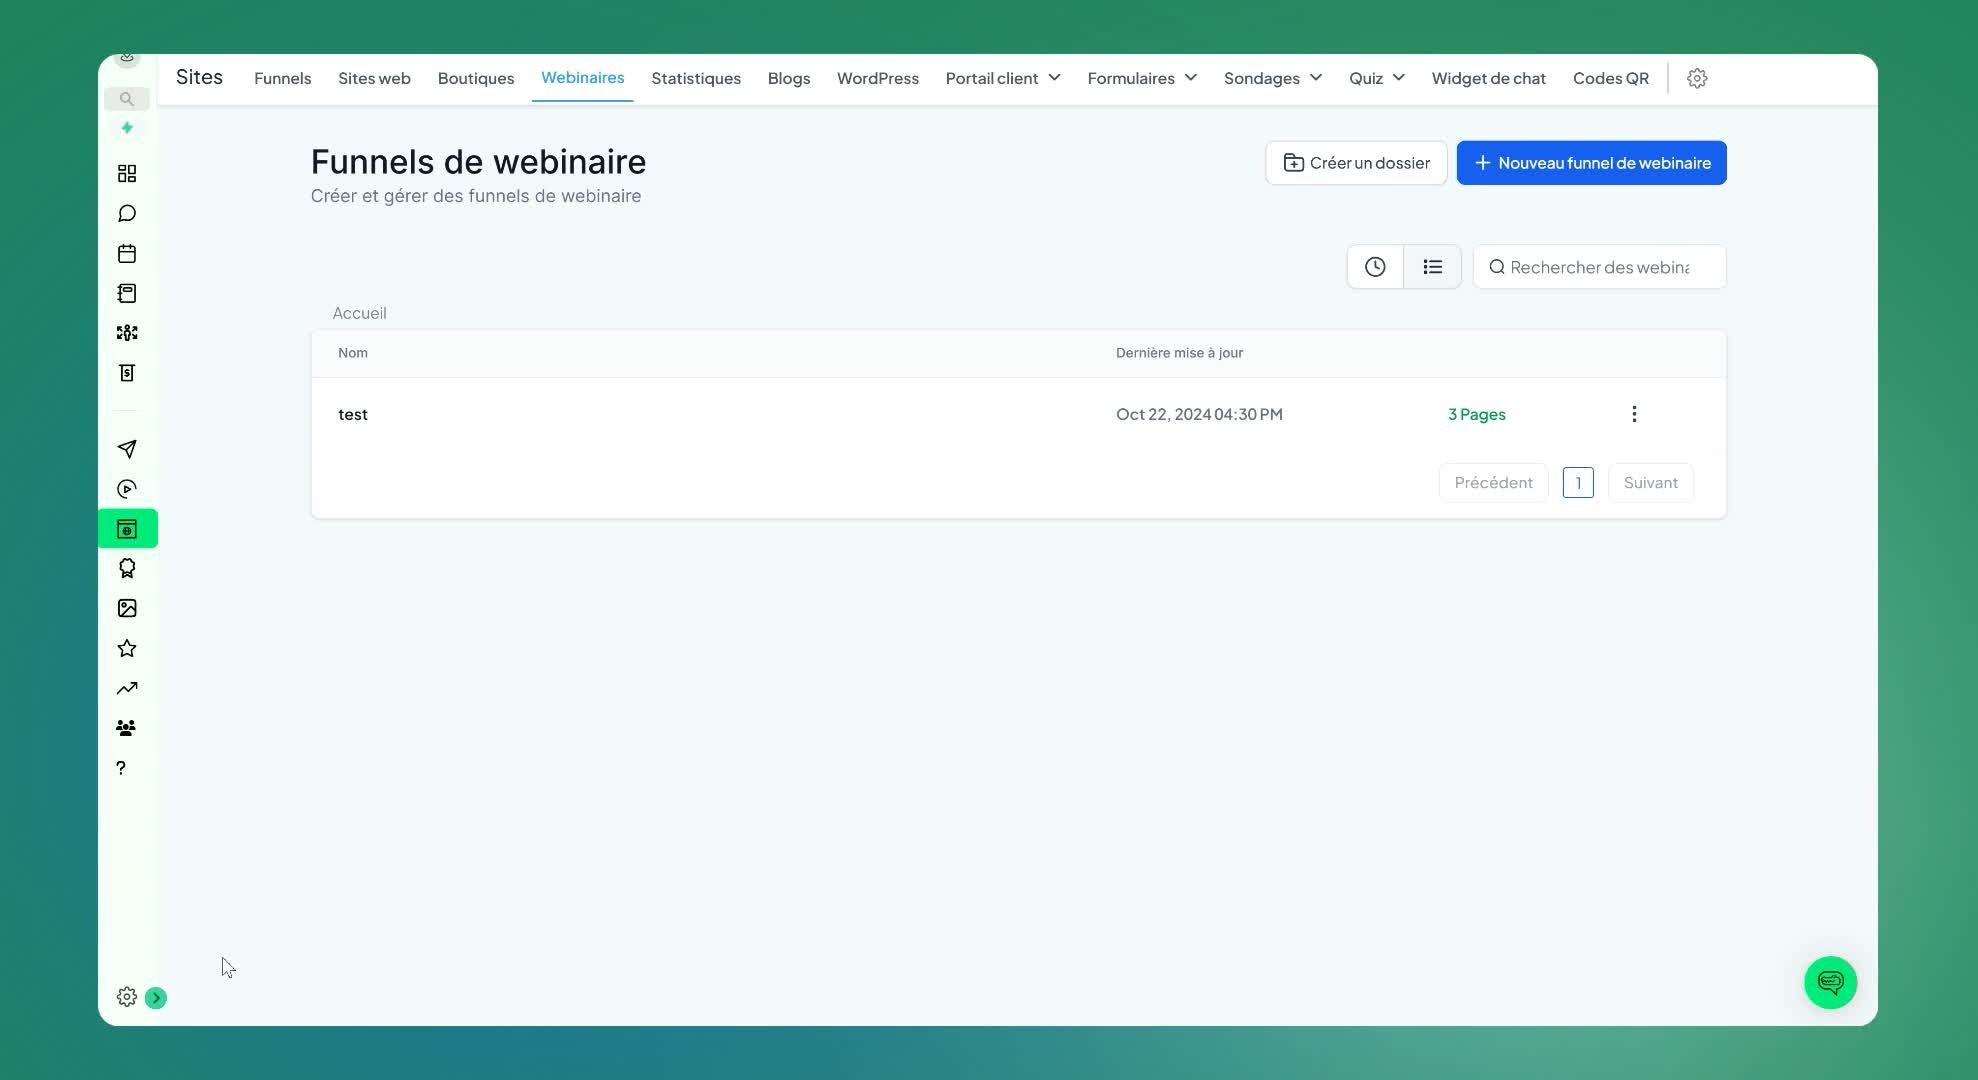
Open CrocoClick.
In the left-hand menu, click on 'site'.
Click on 'webinar' to access the webinar funnel page.
Step 2: Create a registration form
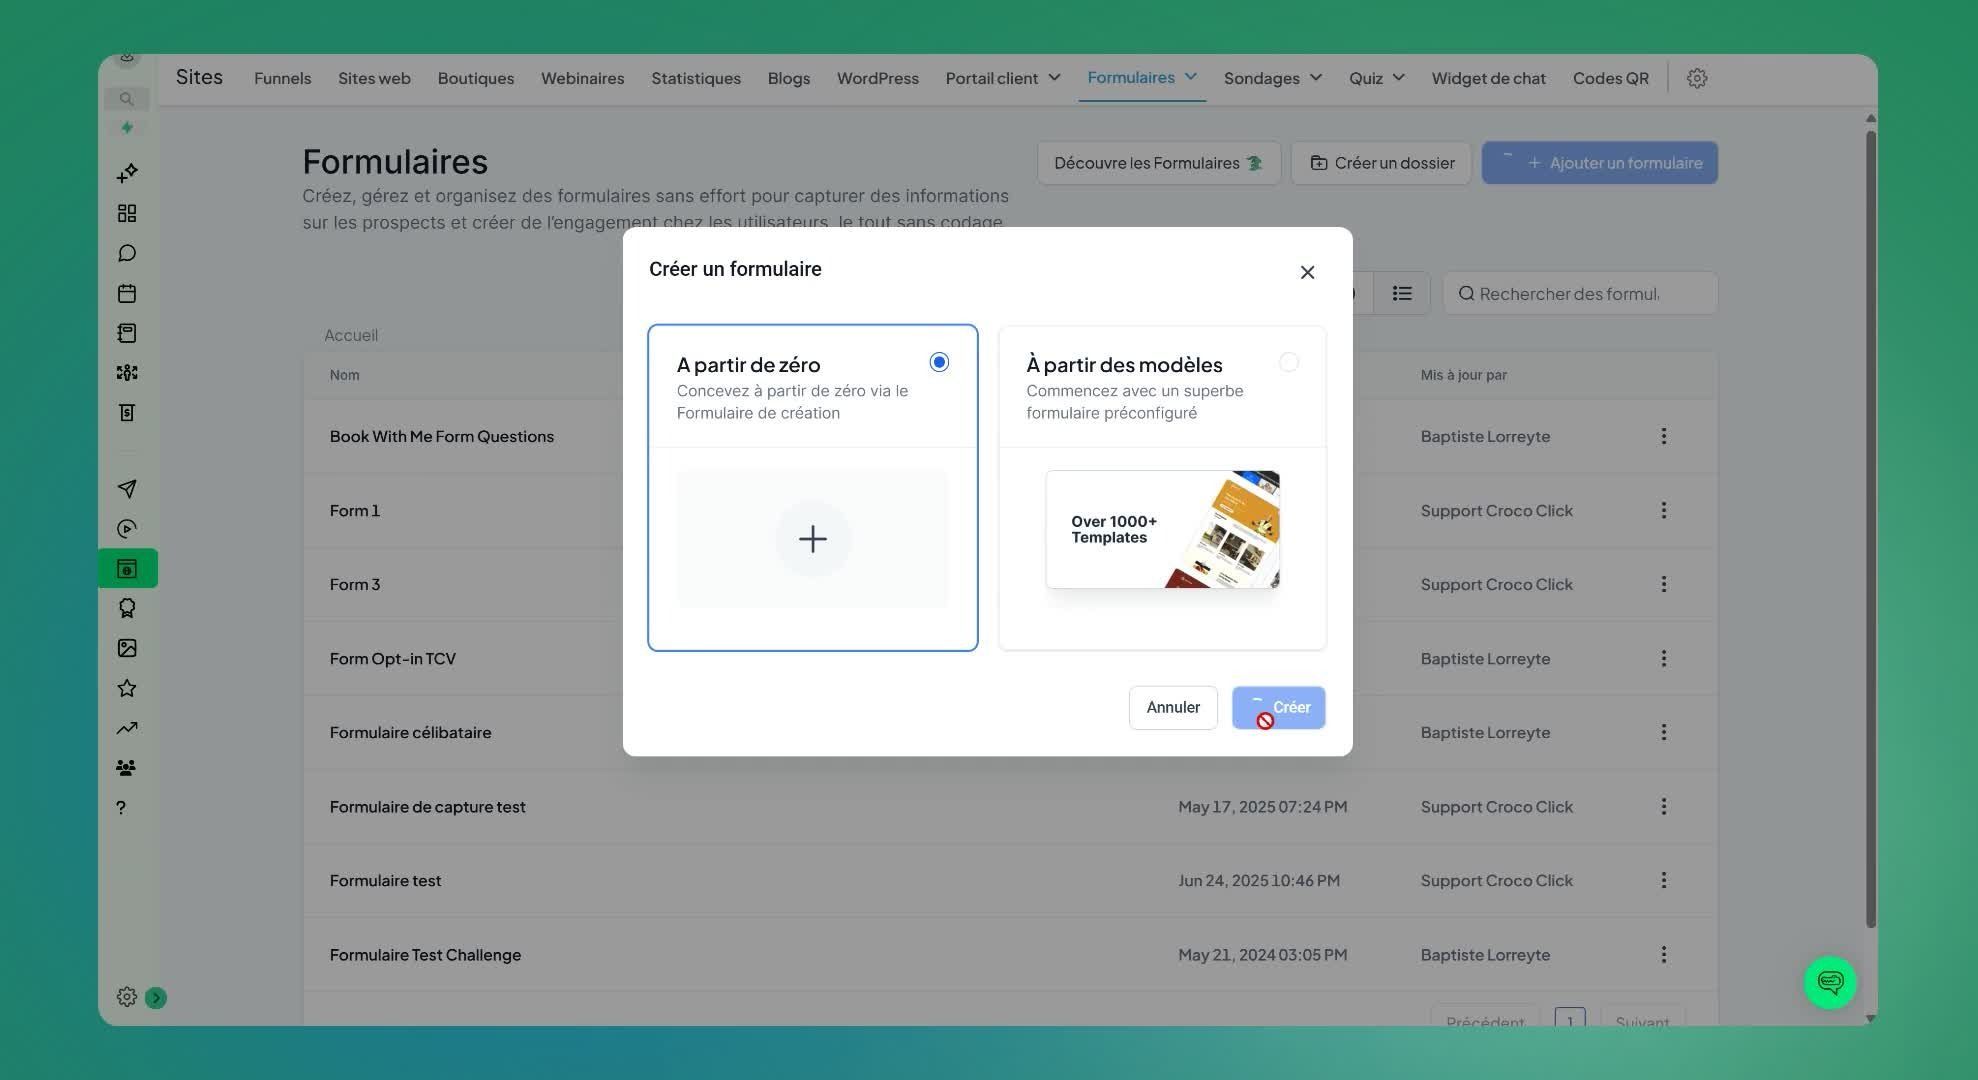
Click on 'Form' then 'Builder'.
Click on 'Add a form'.
Choose a template or start with a blank template.
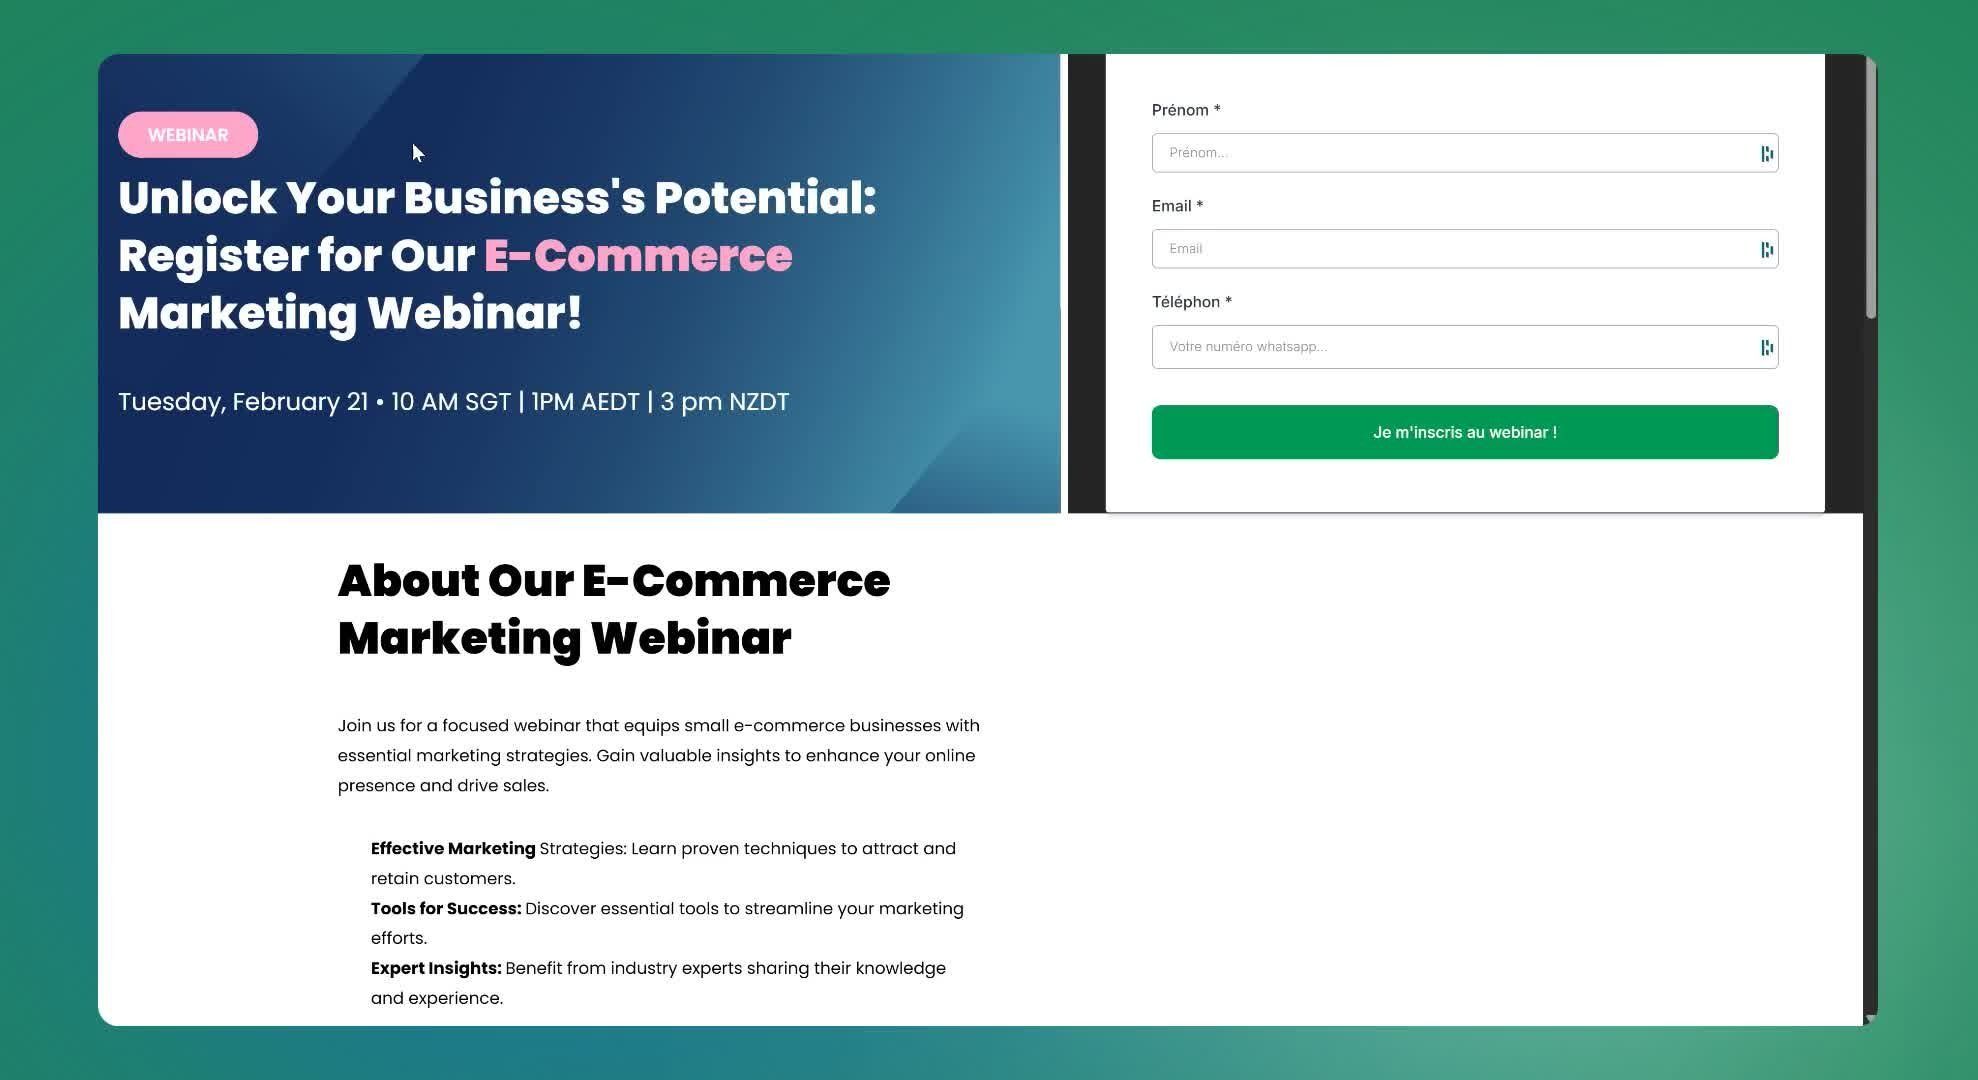
Step 3: Customize the form
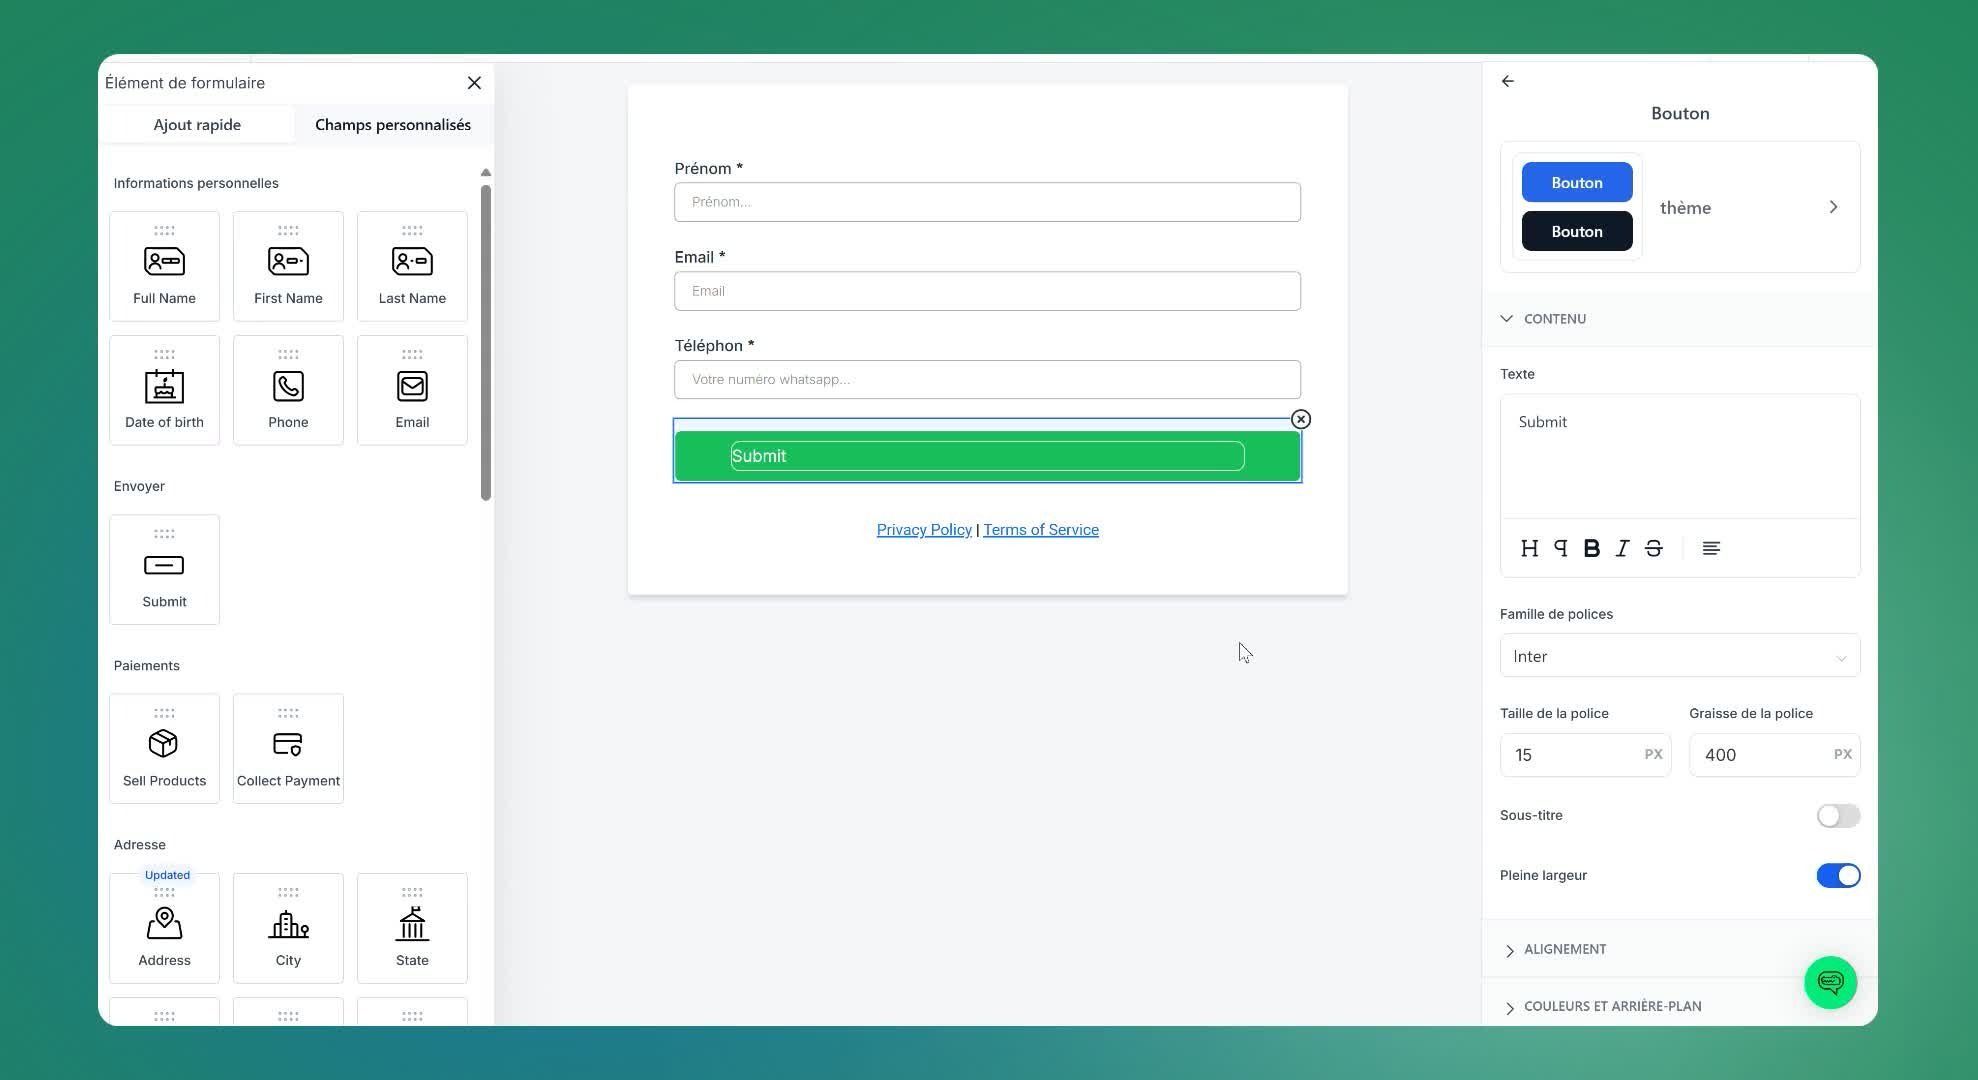
Modify the form fields to include:
First name
Email
Phone number (optional)
Consent boxes if necessary
Step 4: Configure the form settings
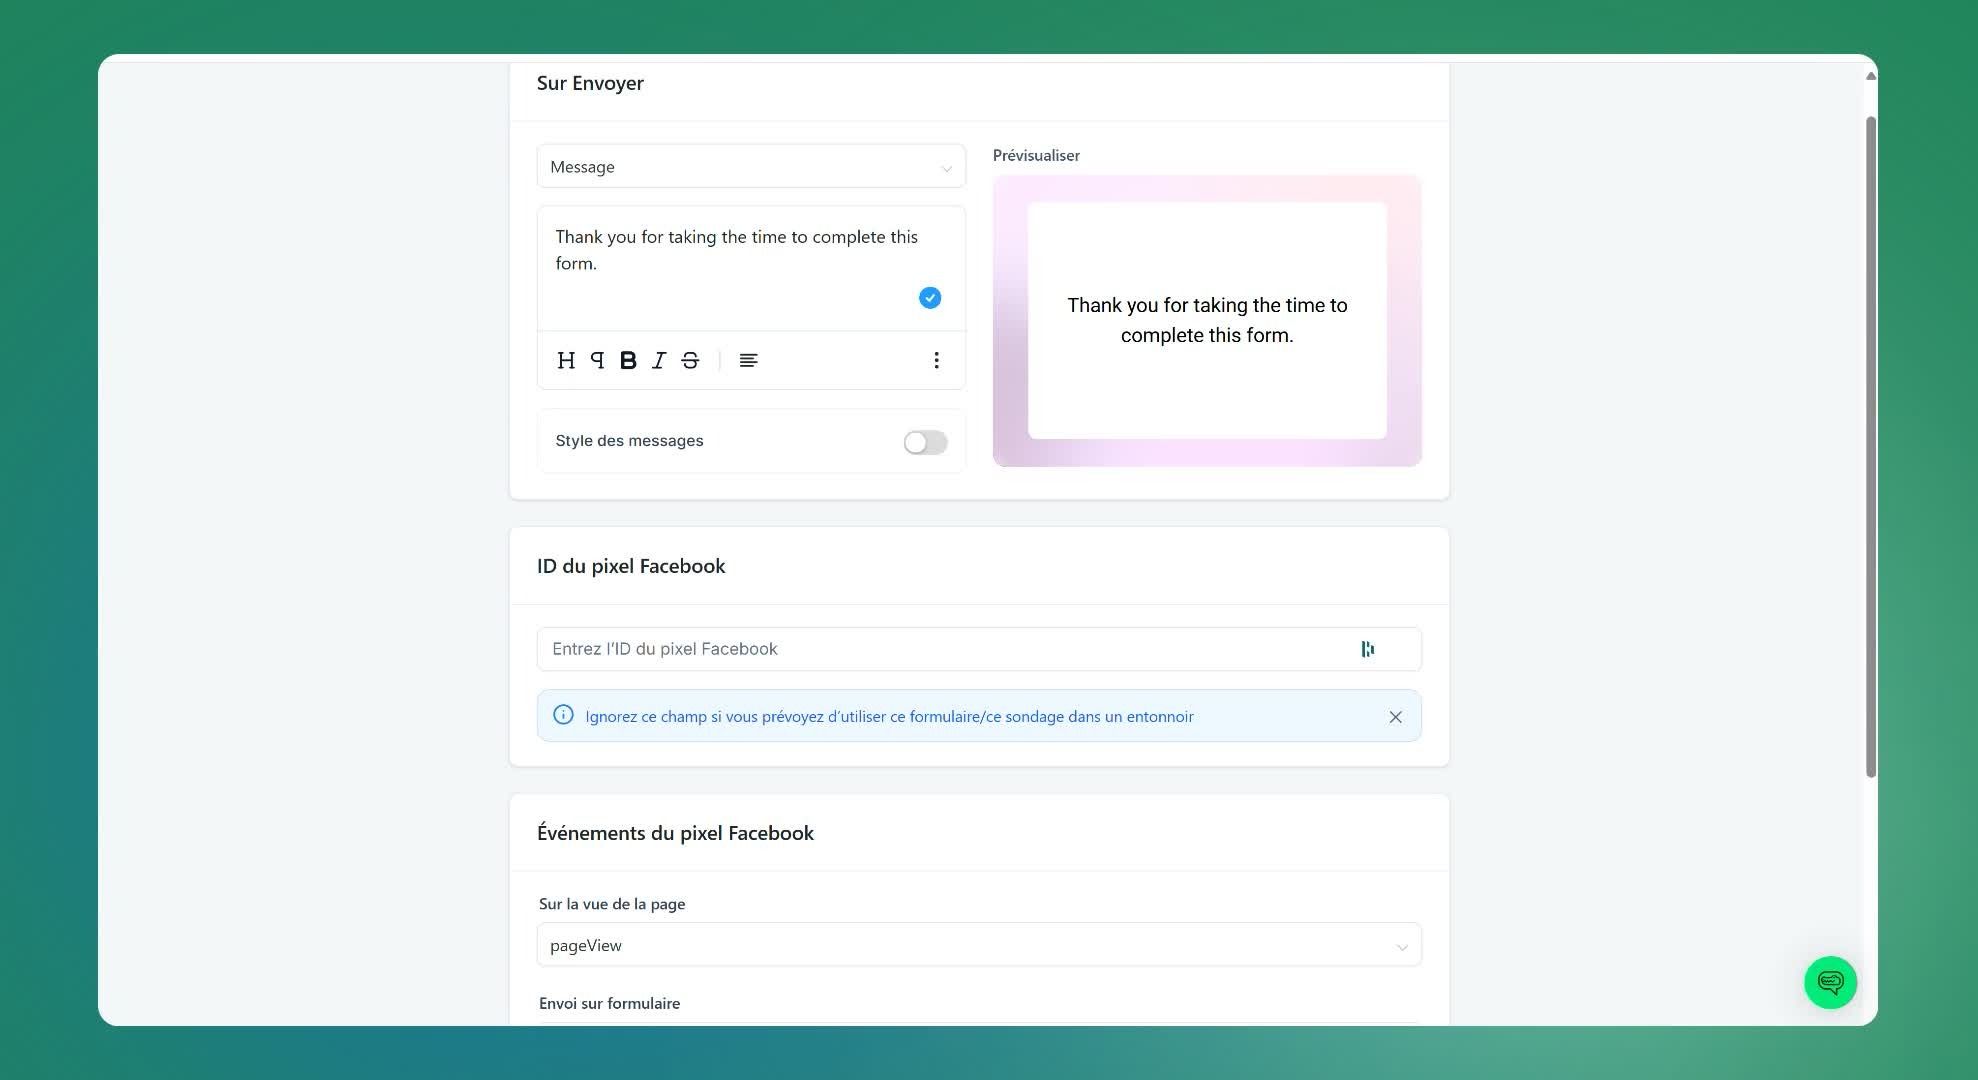
Go to 'settings' to configure confirmation messages.
Enable the option to pre-fill fields with contact information (pinned contact)
Step 5: Save the form
Rename the form to 'Webinar Form'.
Click on 'Save'.
Step 6: Create the webinar funnel
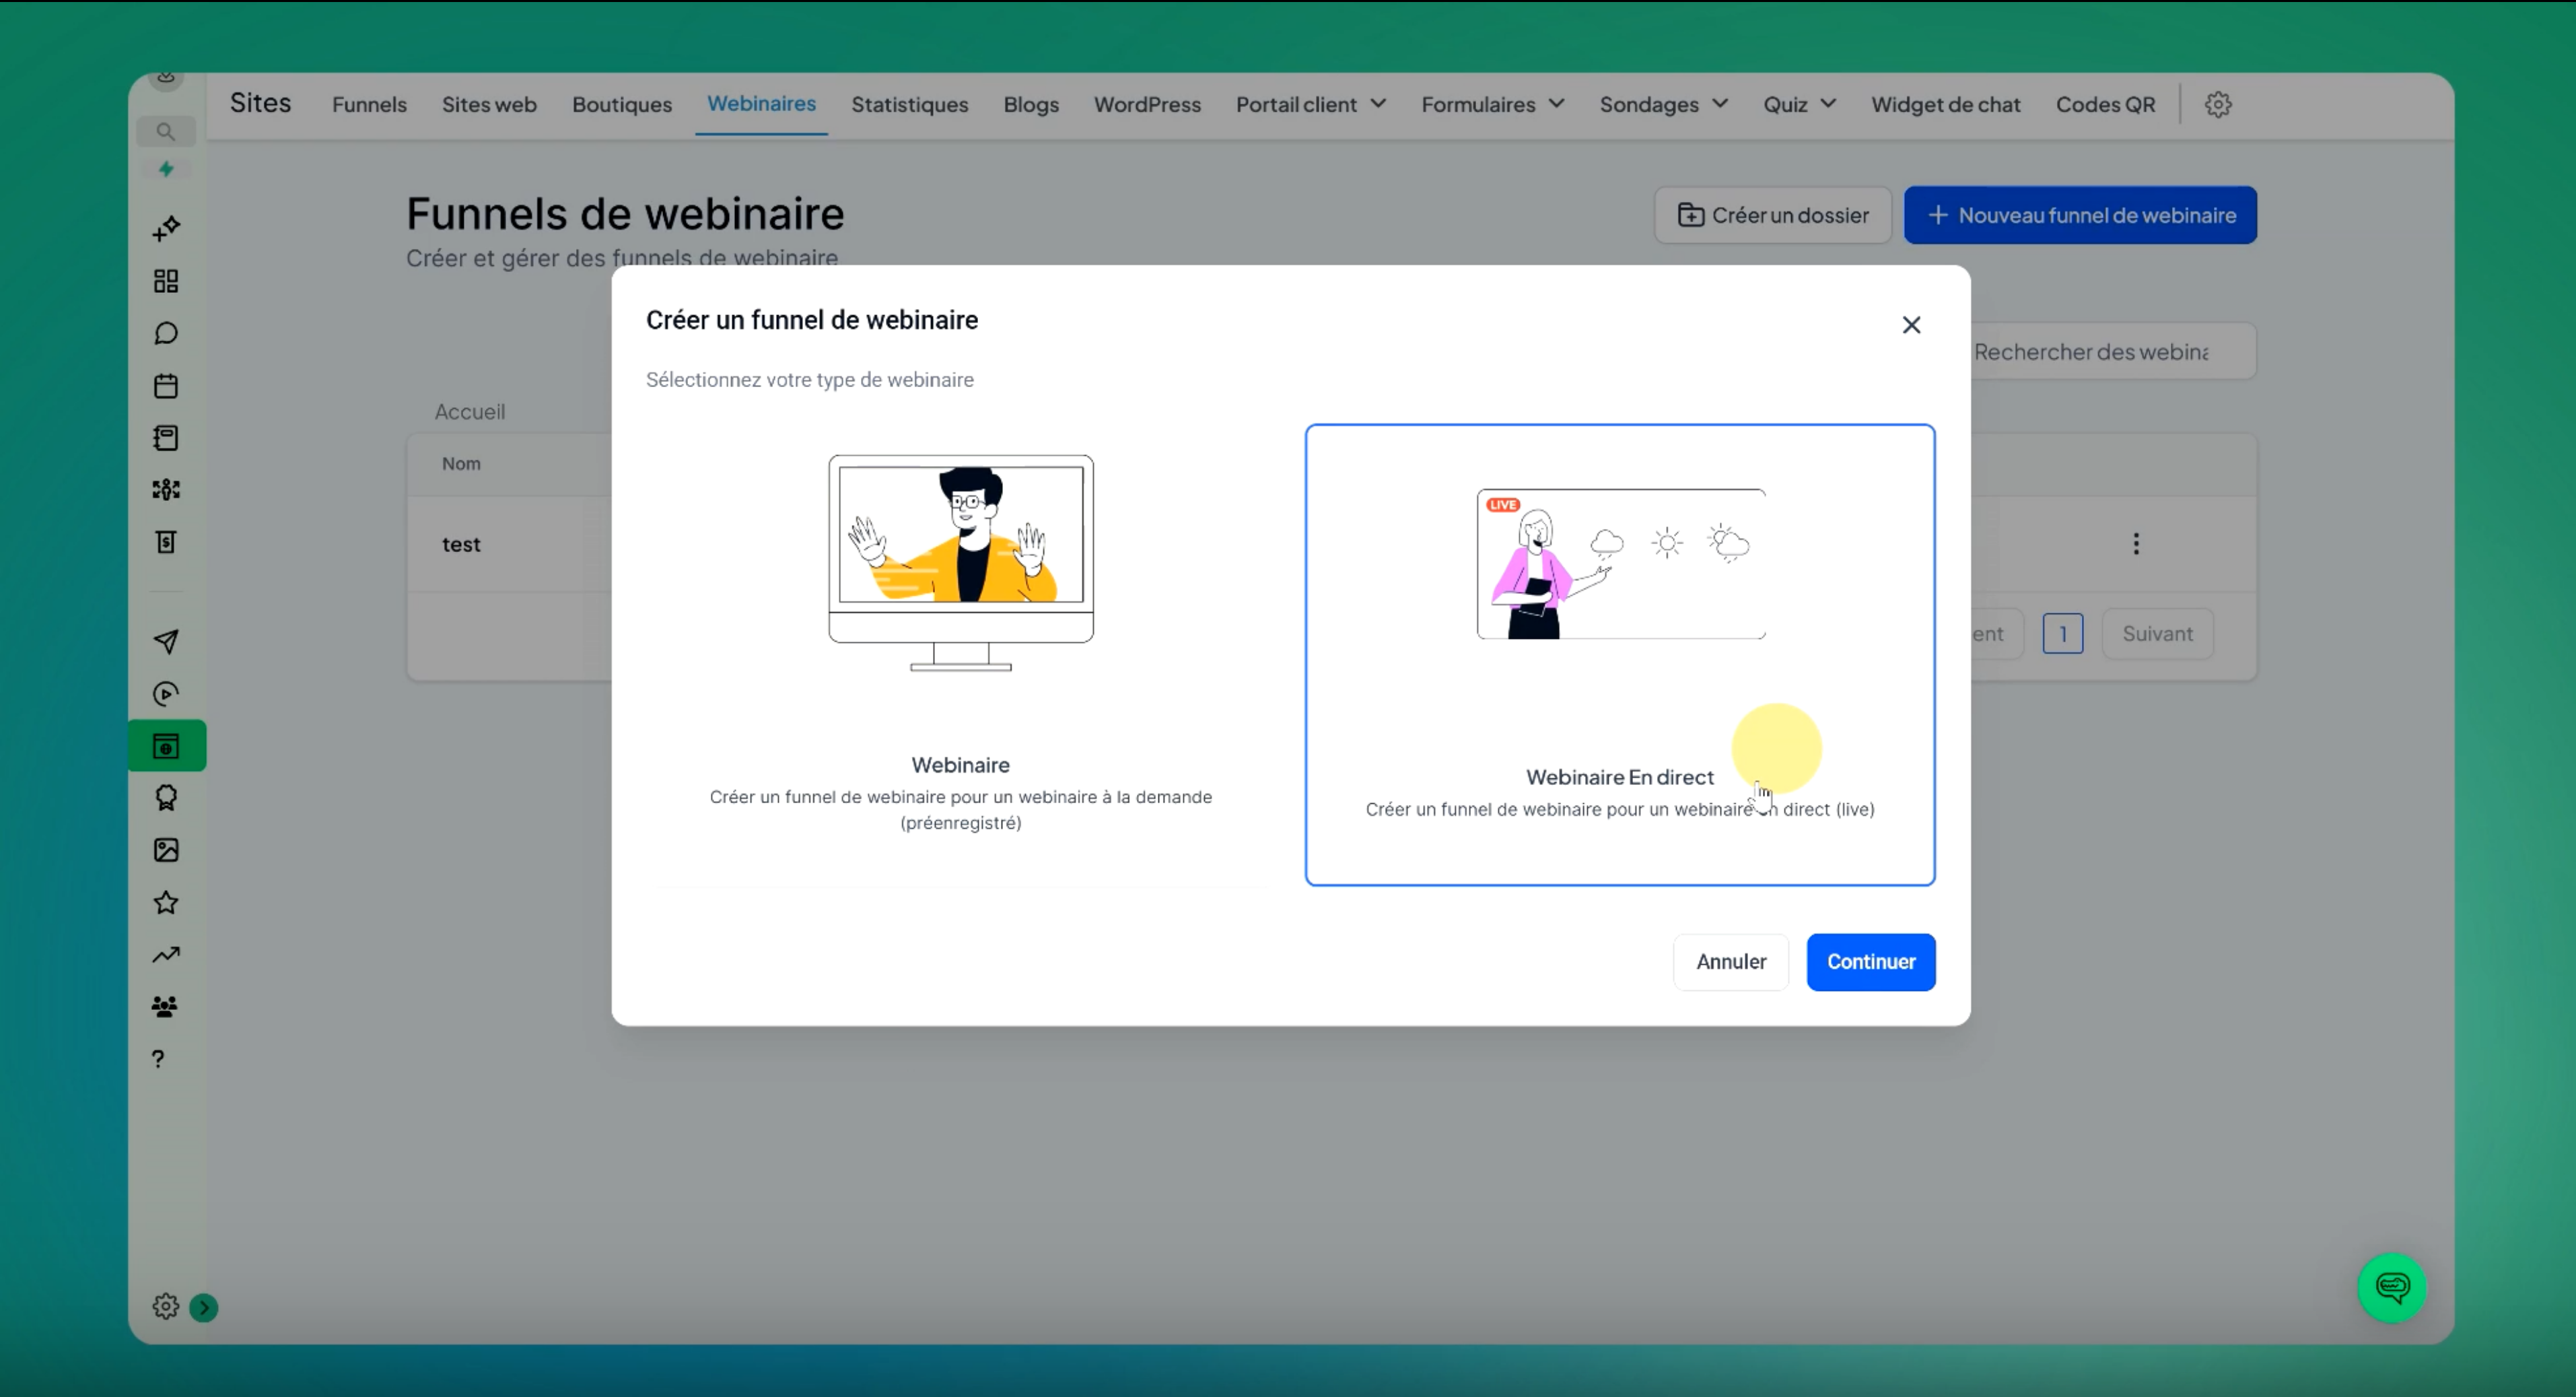
Click on 'New Webinar Funnel'.
Choose between a pre-recorded or live webinar.
Step 7: Configure the webinar details
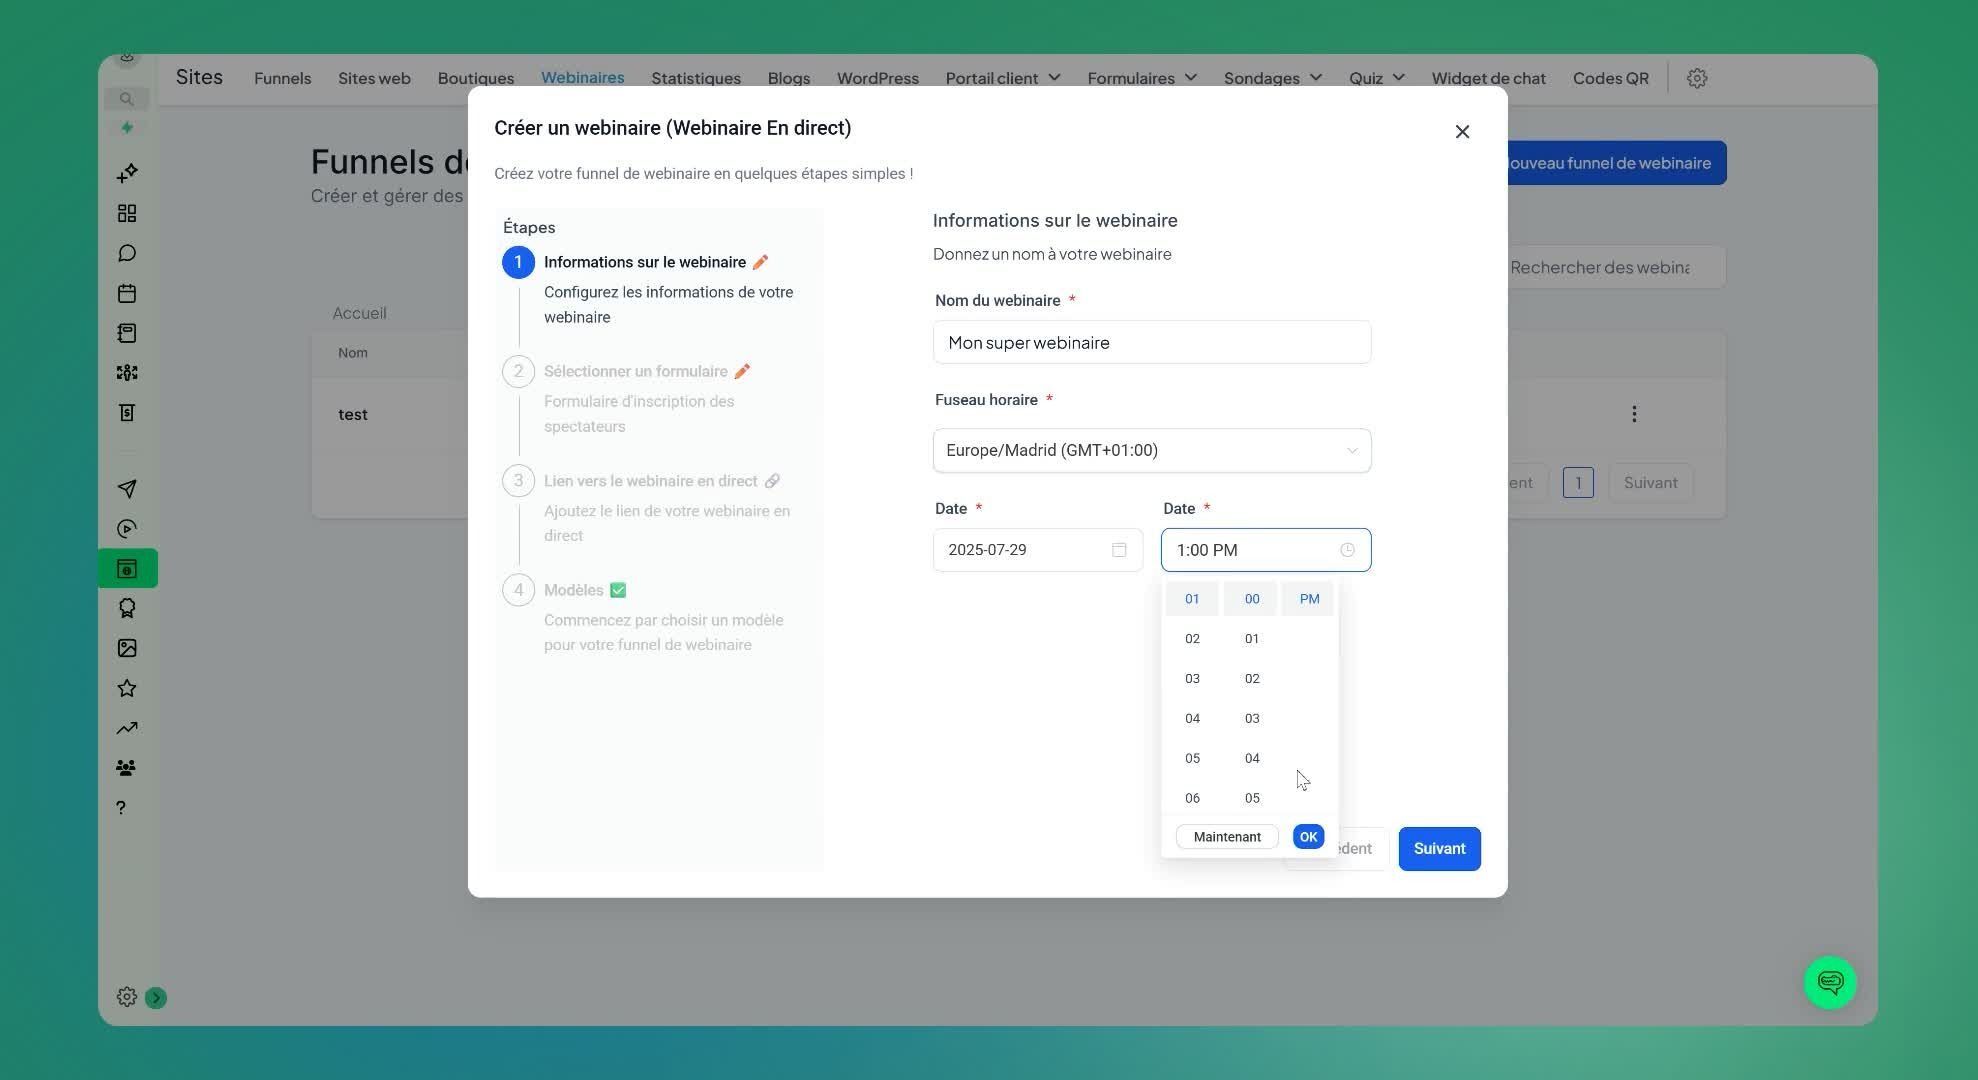
Give the webinar a name.
Select the time zone and date.
Step 8: Link the registration form

Select the opt-in form you created earlier.
Step 9: Choose a webinar page template
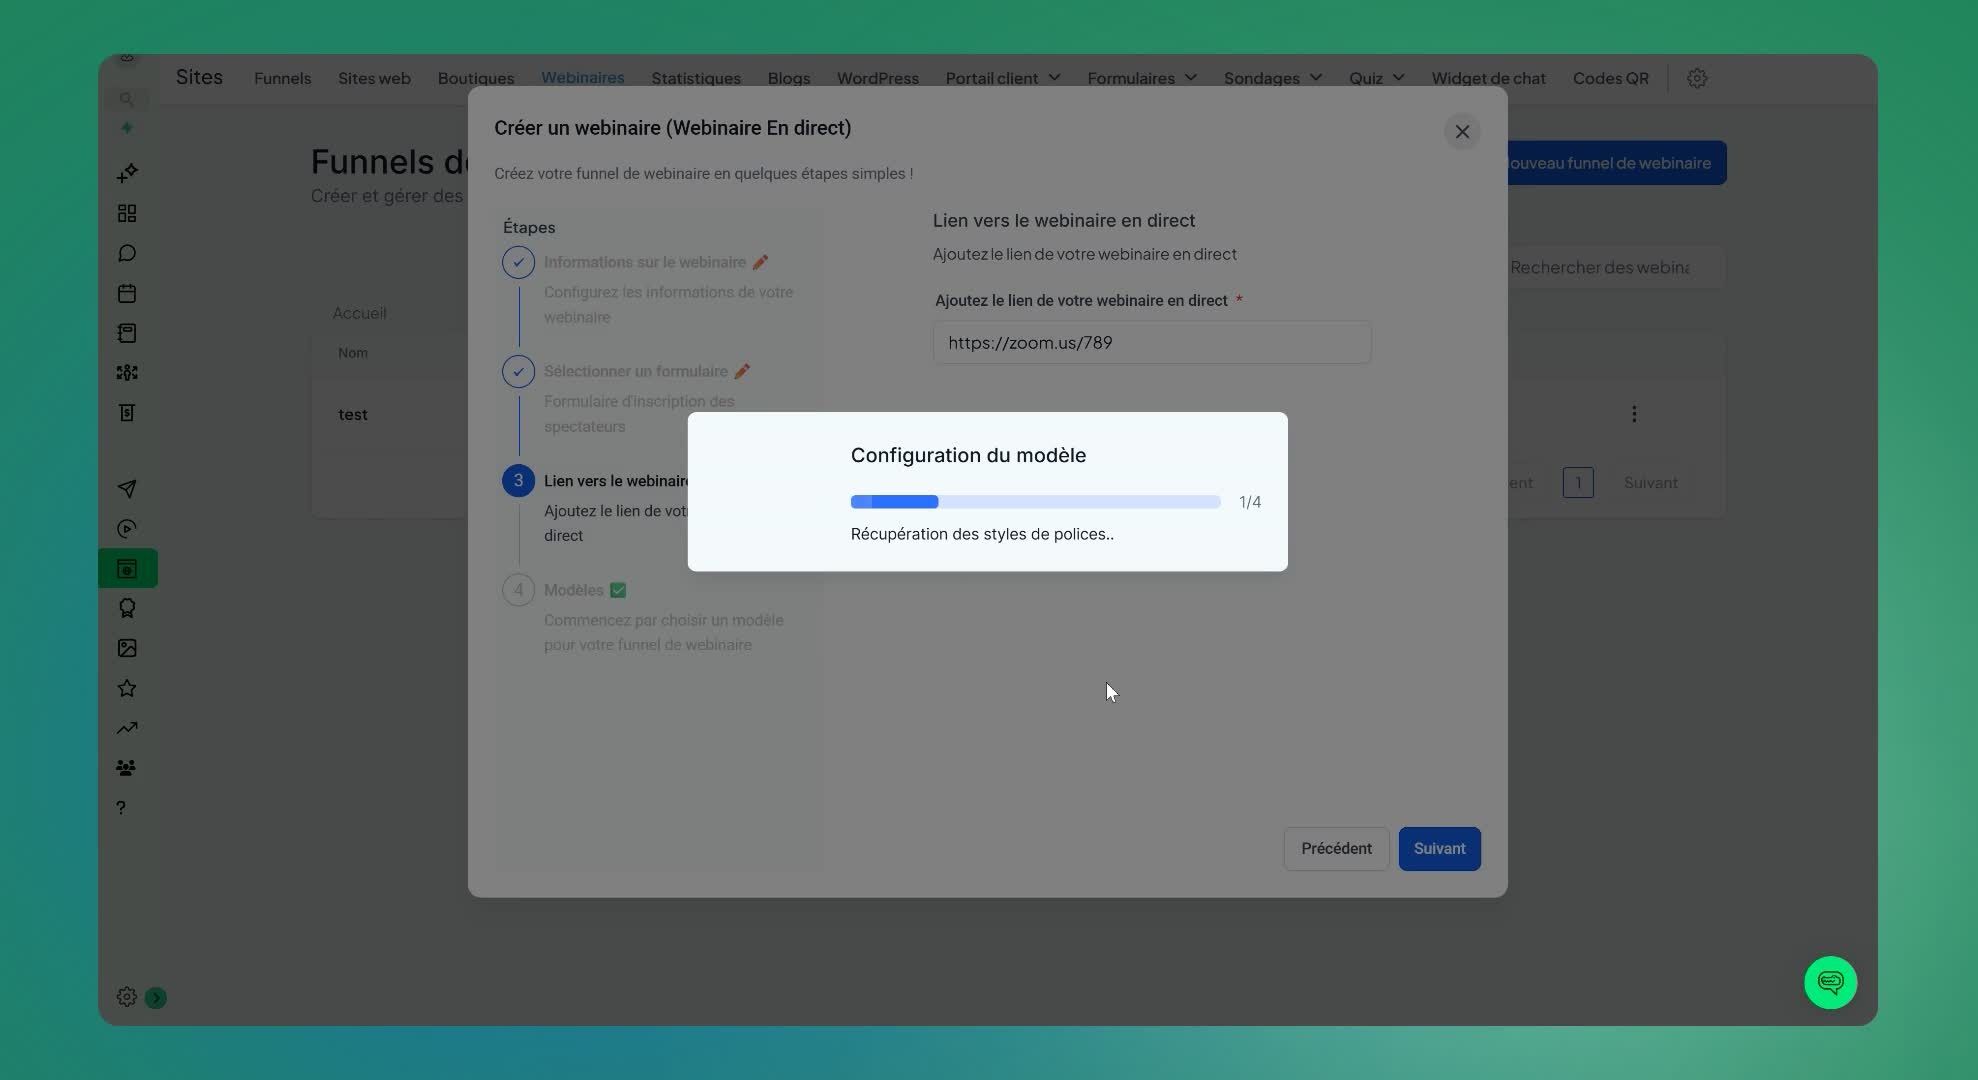
Select a webinar page template from the available options.
Step 10: Customize the webinar page
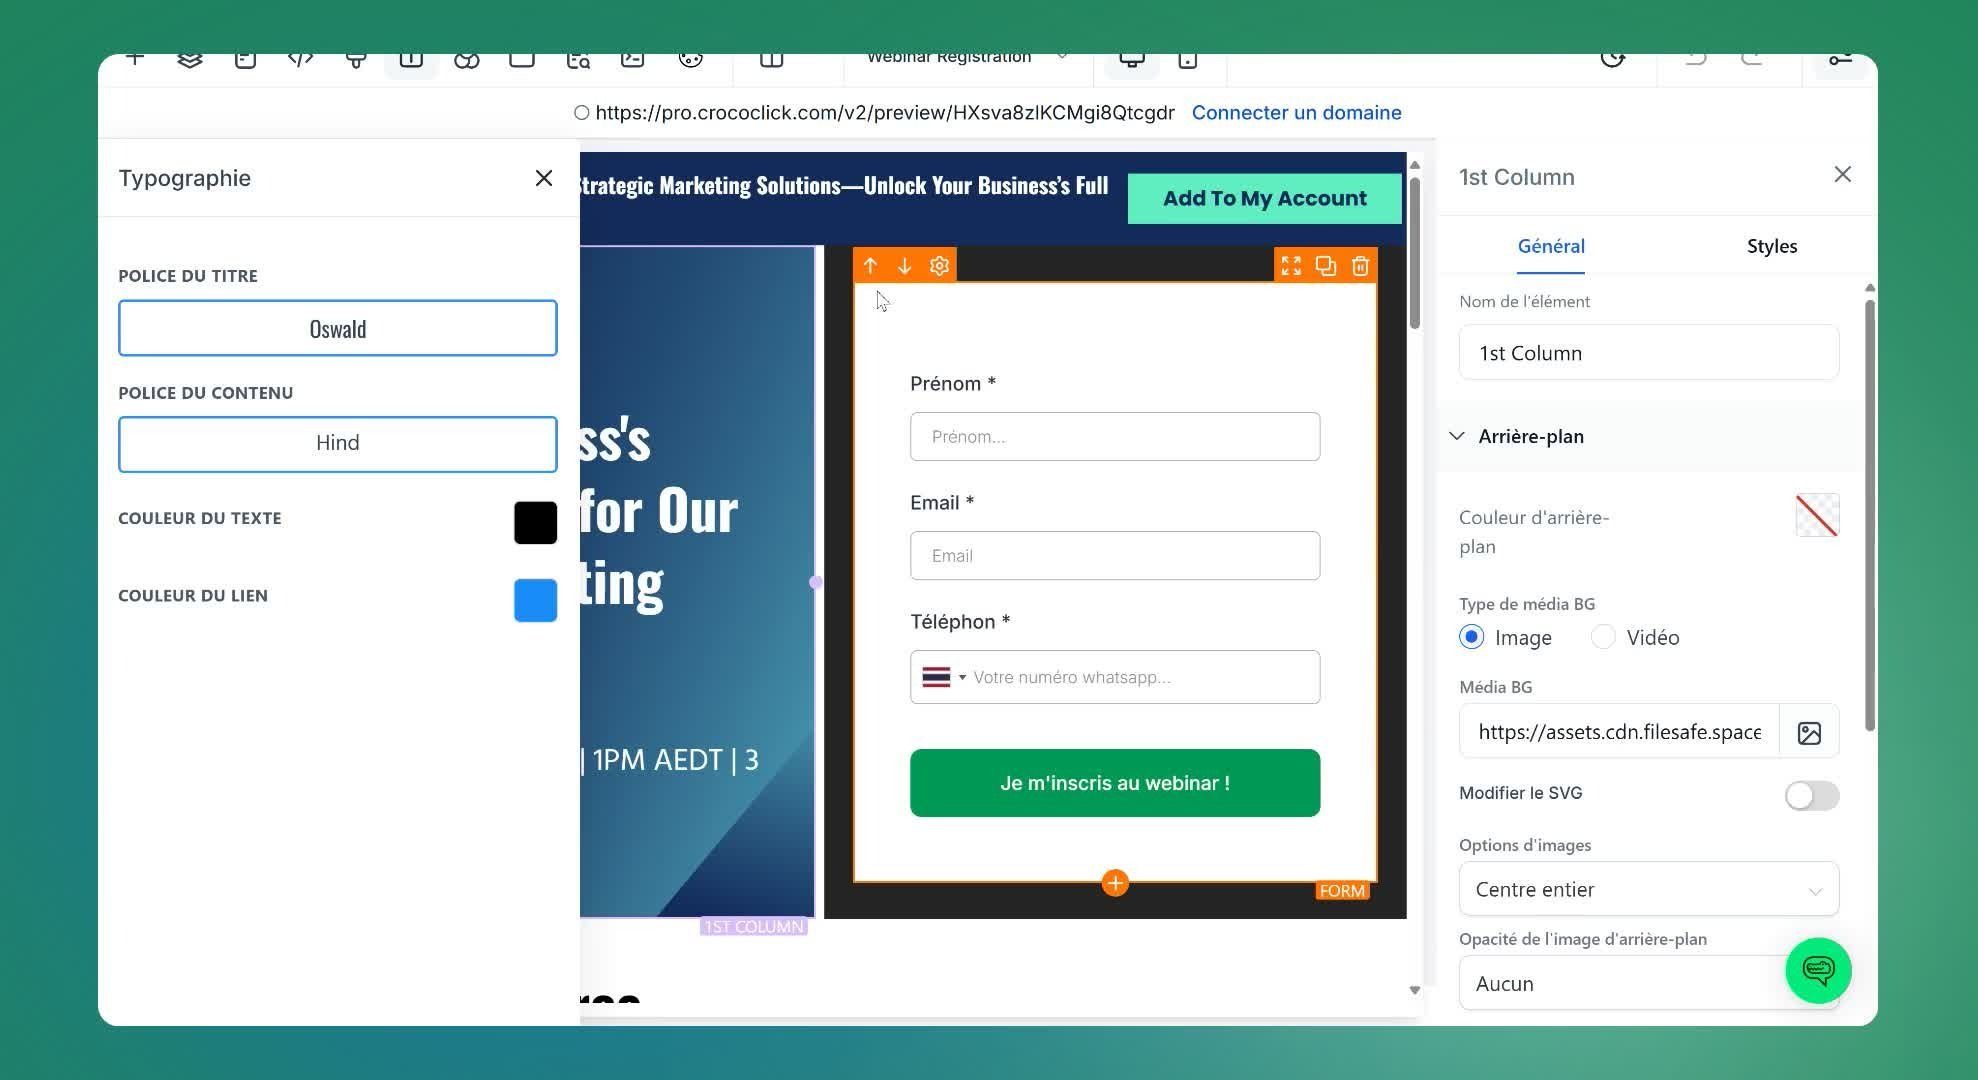
Modify the page settings as needed.
Change all fonts at once
Change all colors at once
💡 TIP: Please note that some buttons in the templates activate a pop-up. If this is the case, make sure that the registration form has been added to the pop-up.
Step 11: Configure the confirmation page
Add a video or thank you message to the confirmation page.
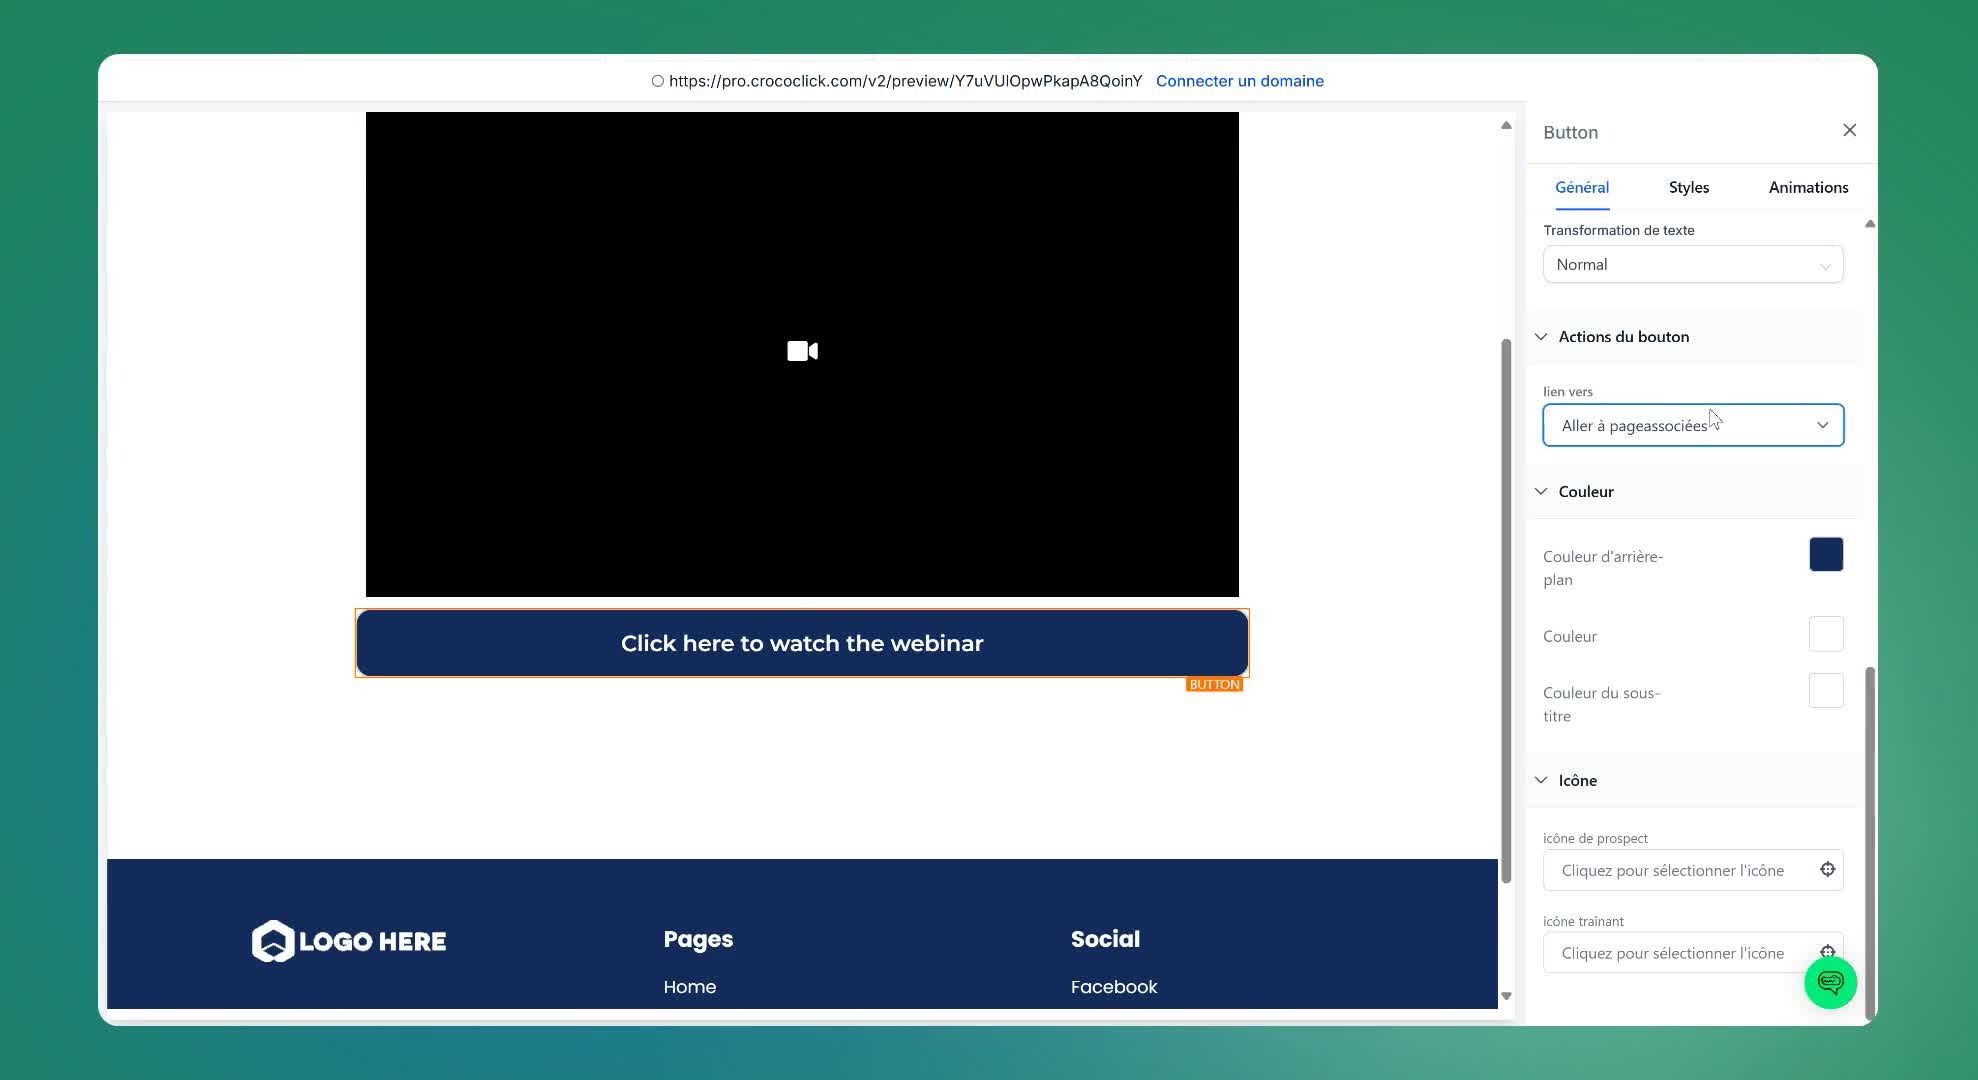
Step 12: Configure the broadcast page
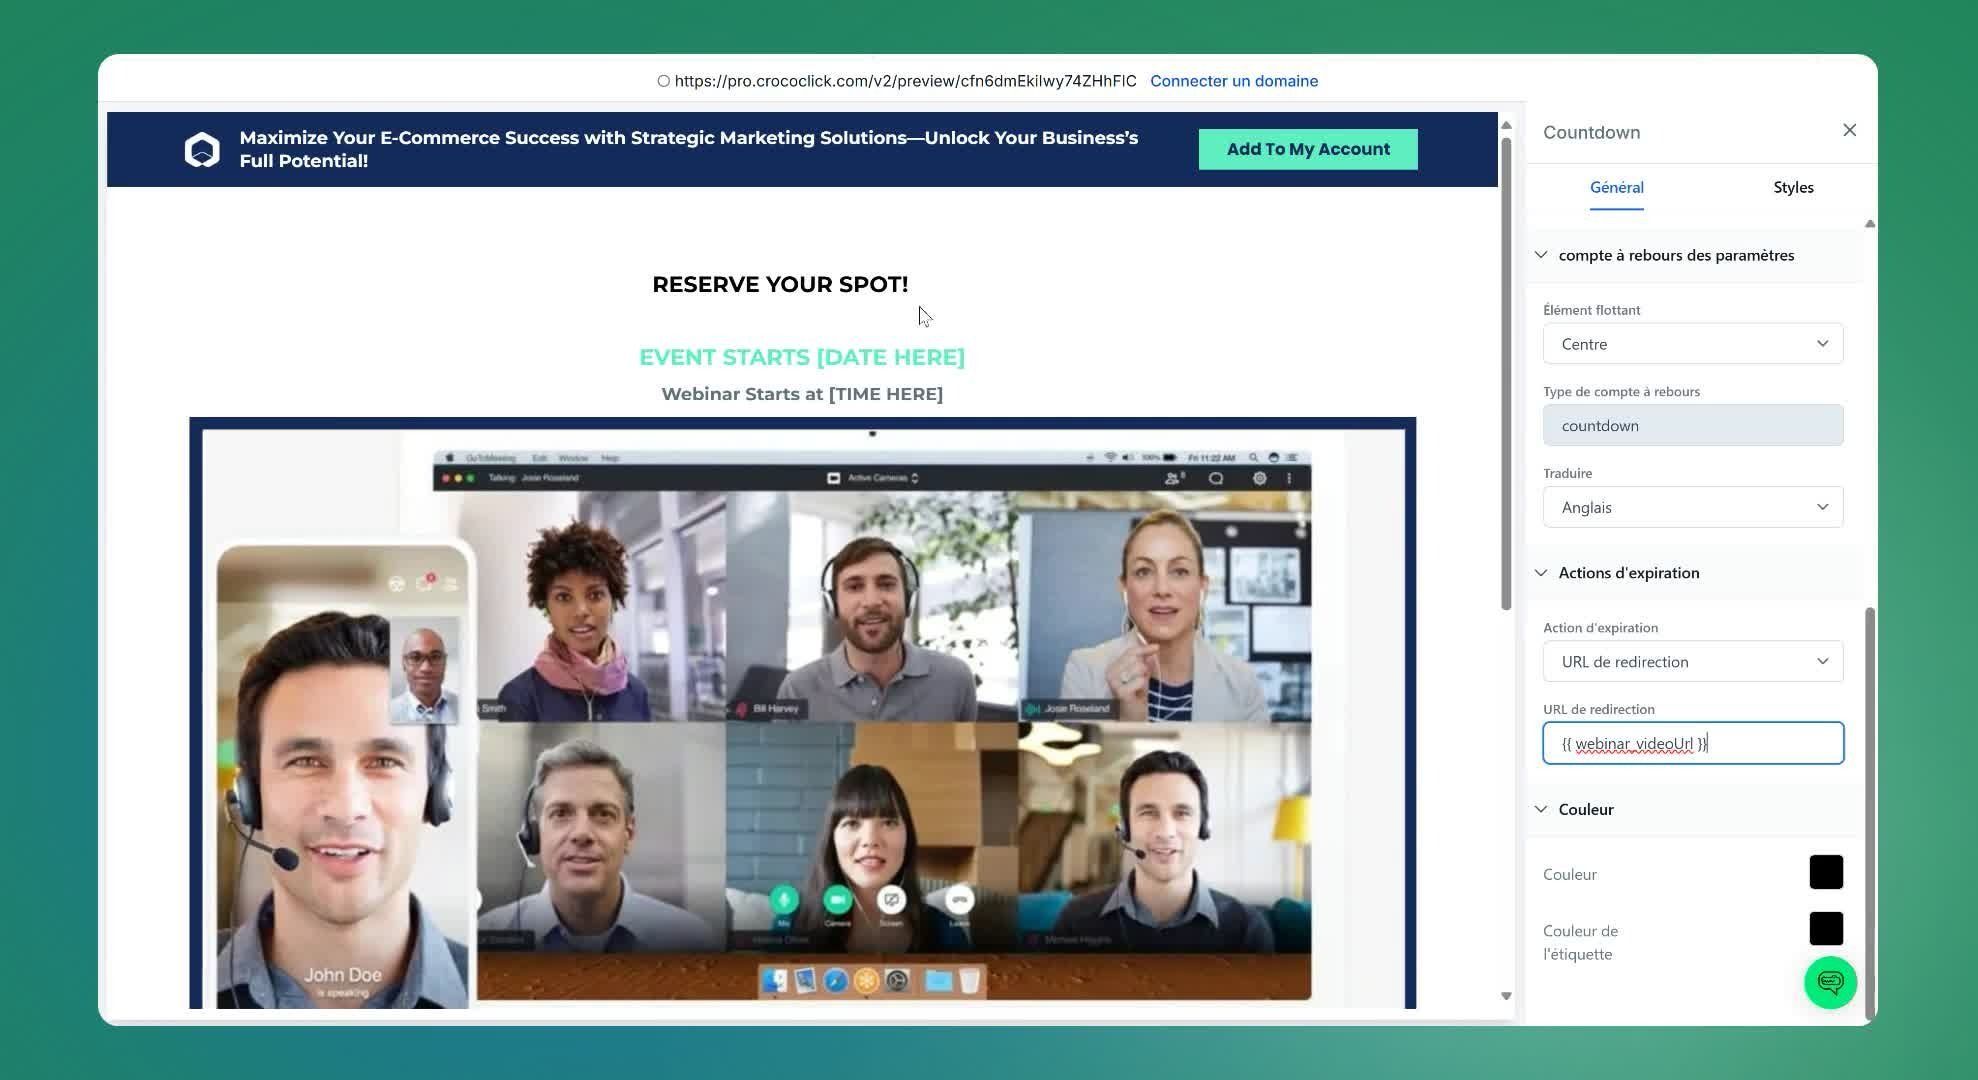
Change the waiting image if necessary
Potentially add a warm-up video
Step 13: Select a domain
Go to the funnel settings
Choose a domain for the webinar funnel.
Step 14: Test the funnel
Click on the link to preview the funnel and check that it is working.
Step 15: Automate emails (bonus)
Go to "Automation" to create a series of emails for participants.
Choose the previously created form as the trigger.
💡TIP: Read thisarticle on creating automation for a live webinar event
⚠️ Points to note
Make sure all links are working properly before sharing the funnel.
Check that the required fields are correctly configured in the form.
⚡ Tips to speed up the process
Use templates to save time when creating pages.
Test the funnel several times to ensure it works as expected before the day of the webinar.