Migrating from Zoho to CrocoClick
Guide to easily migrate from Zoho to CrocoClick by transferring contacts, calendars, opportunities and automations.
Written By CrocoTeam
Last updated 5 months ago
This guide provides detailed instructions for migrating data and features from the Zoho suite of applications to CrocoClick. The goal is to ensure a smooth transition by preserving essential data, automations, and workflows, while taking advantage of CrocoClick's built-in CRM and marketing capabilities.
IMPORTANT: Be sure to migrate all of the following when transitioning from Zoho to CrocoClick.
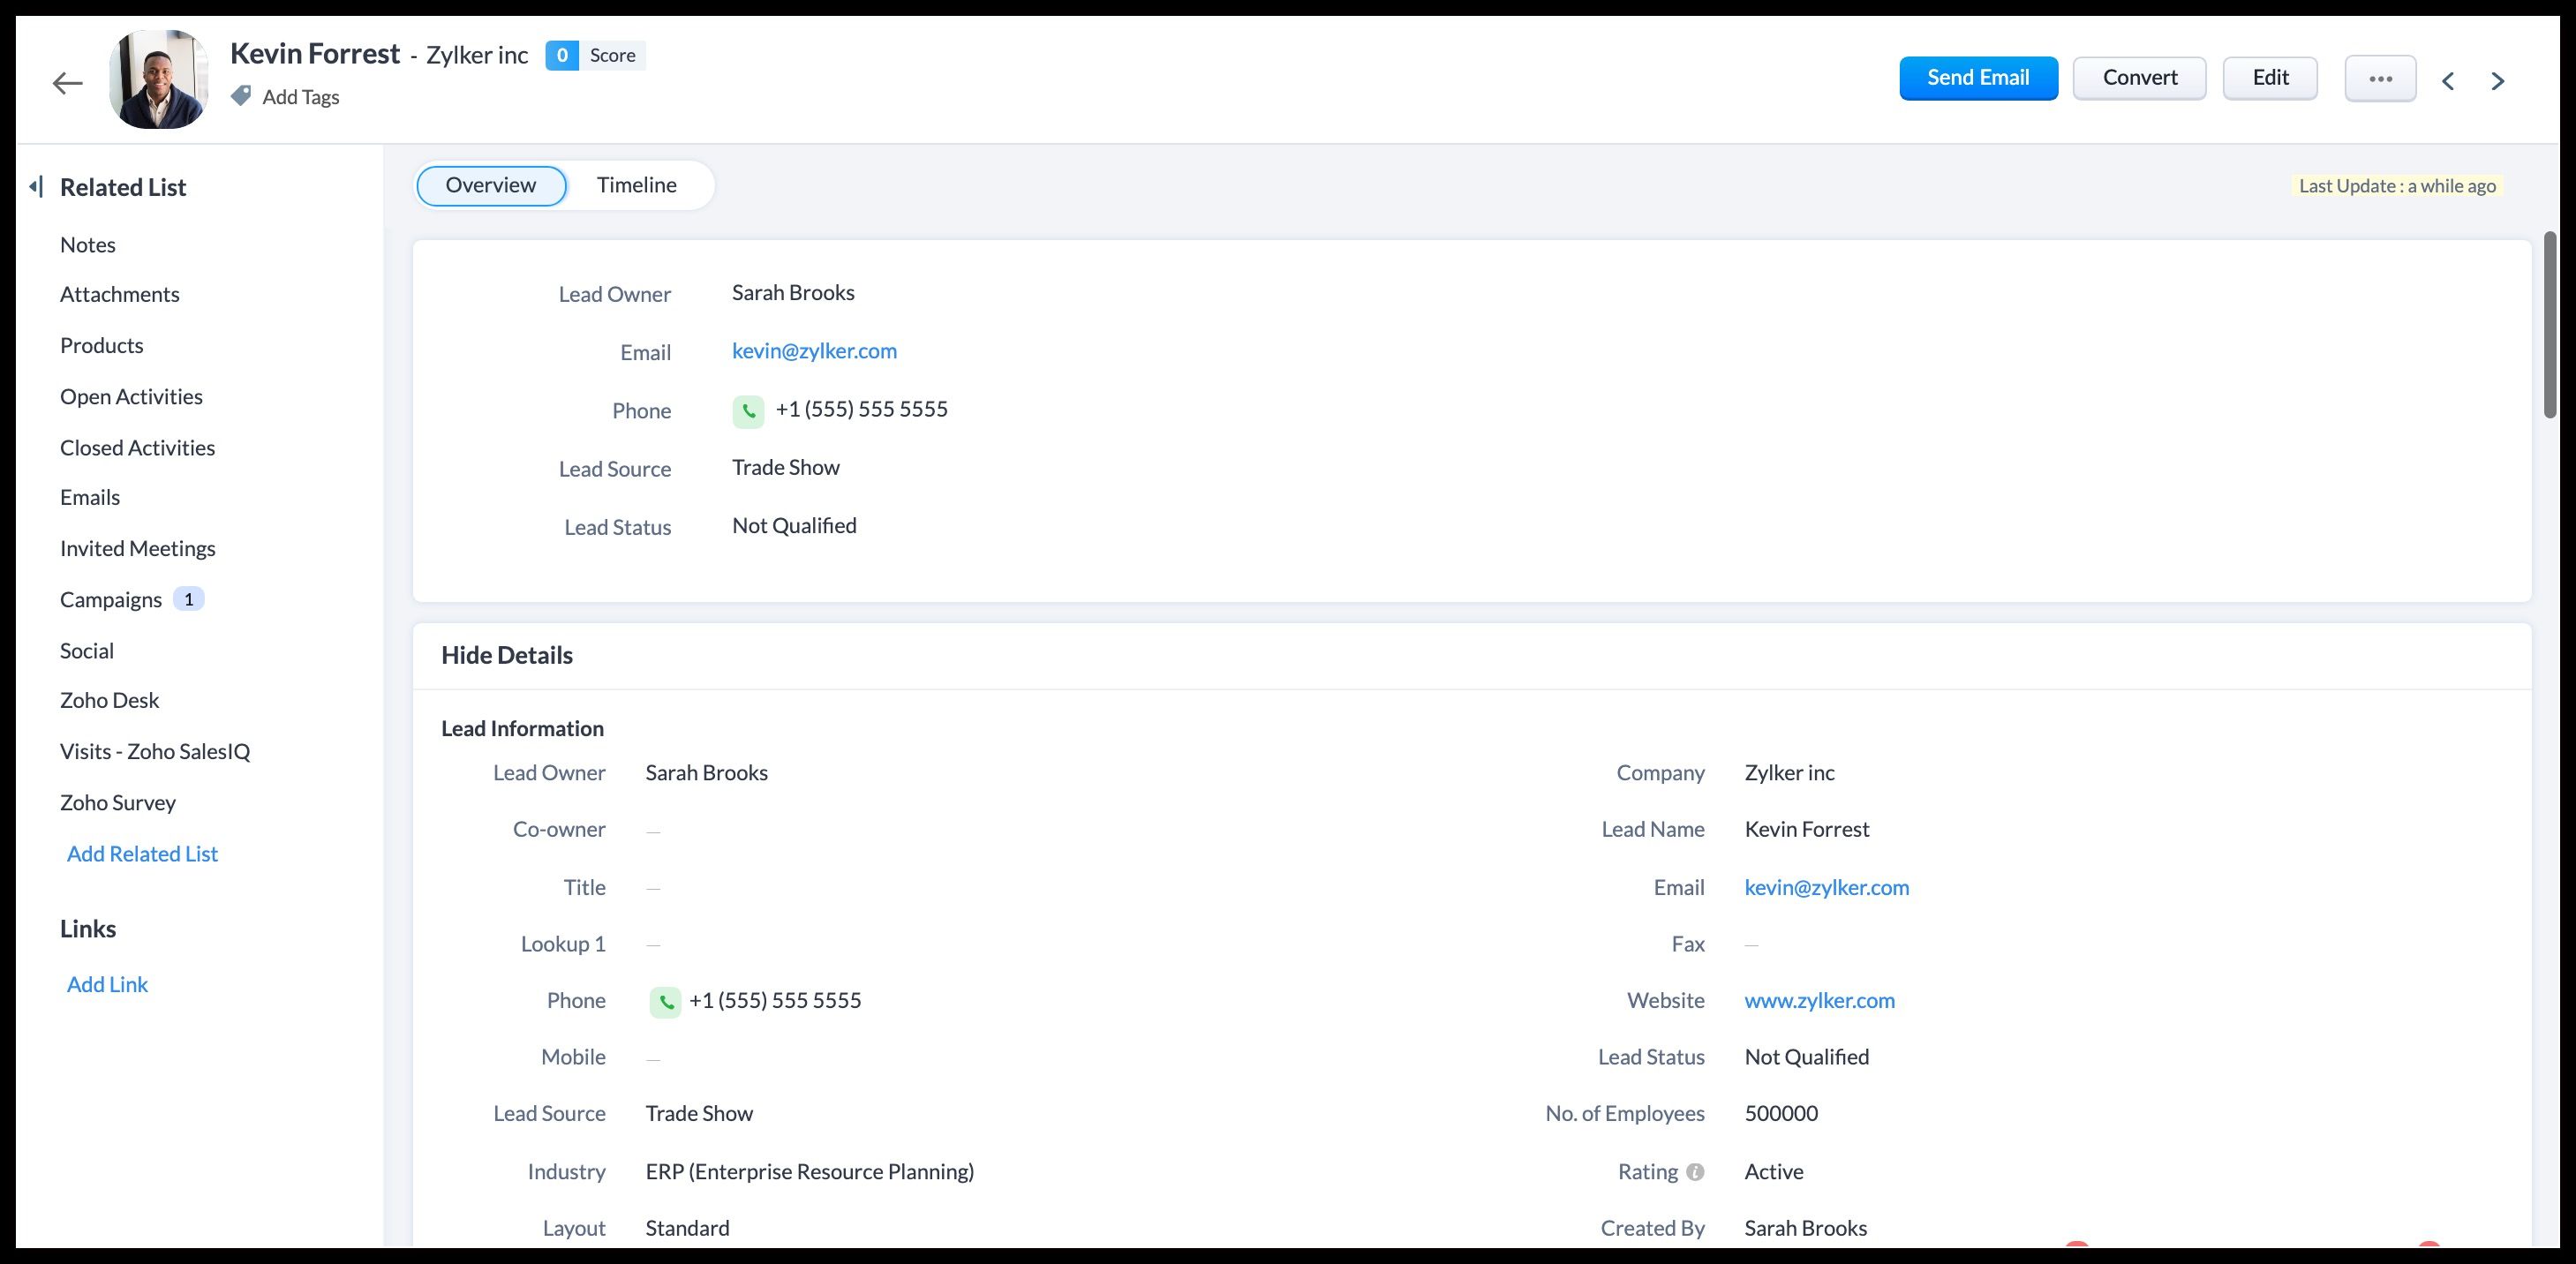
Contacts
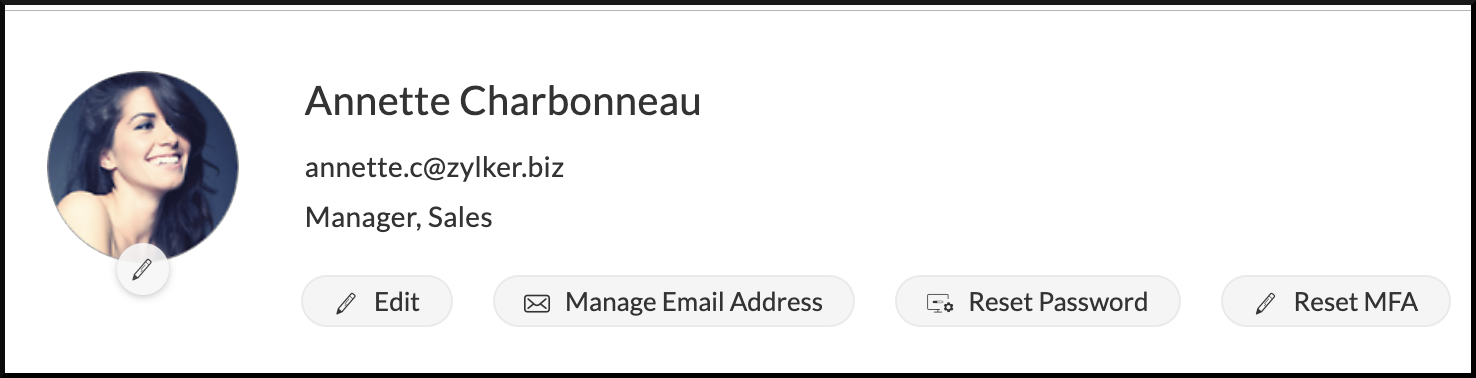
Users
Calendars
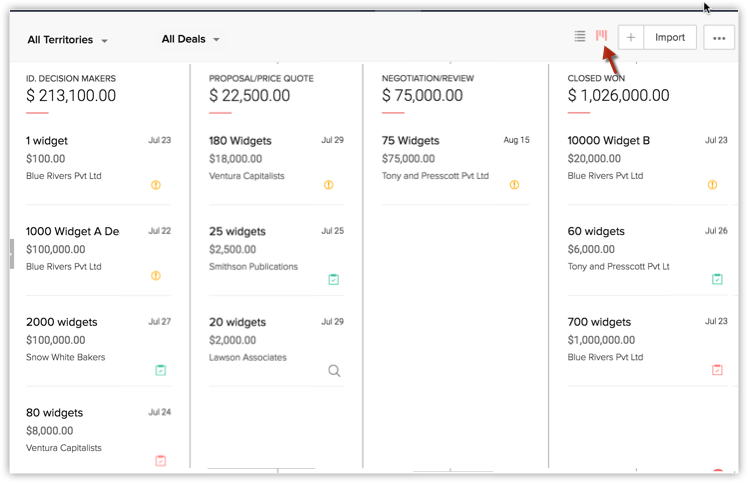
Opportunities
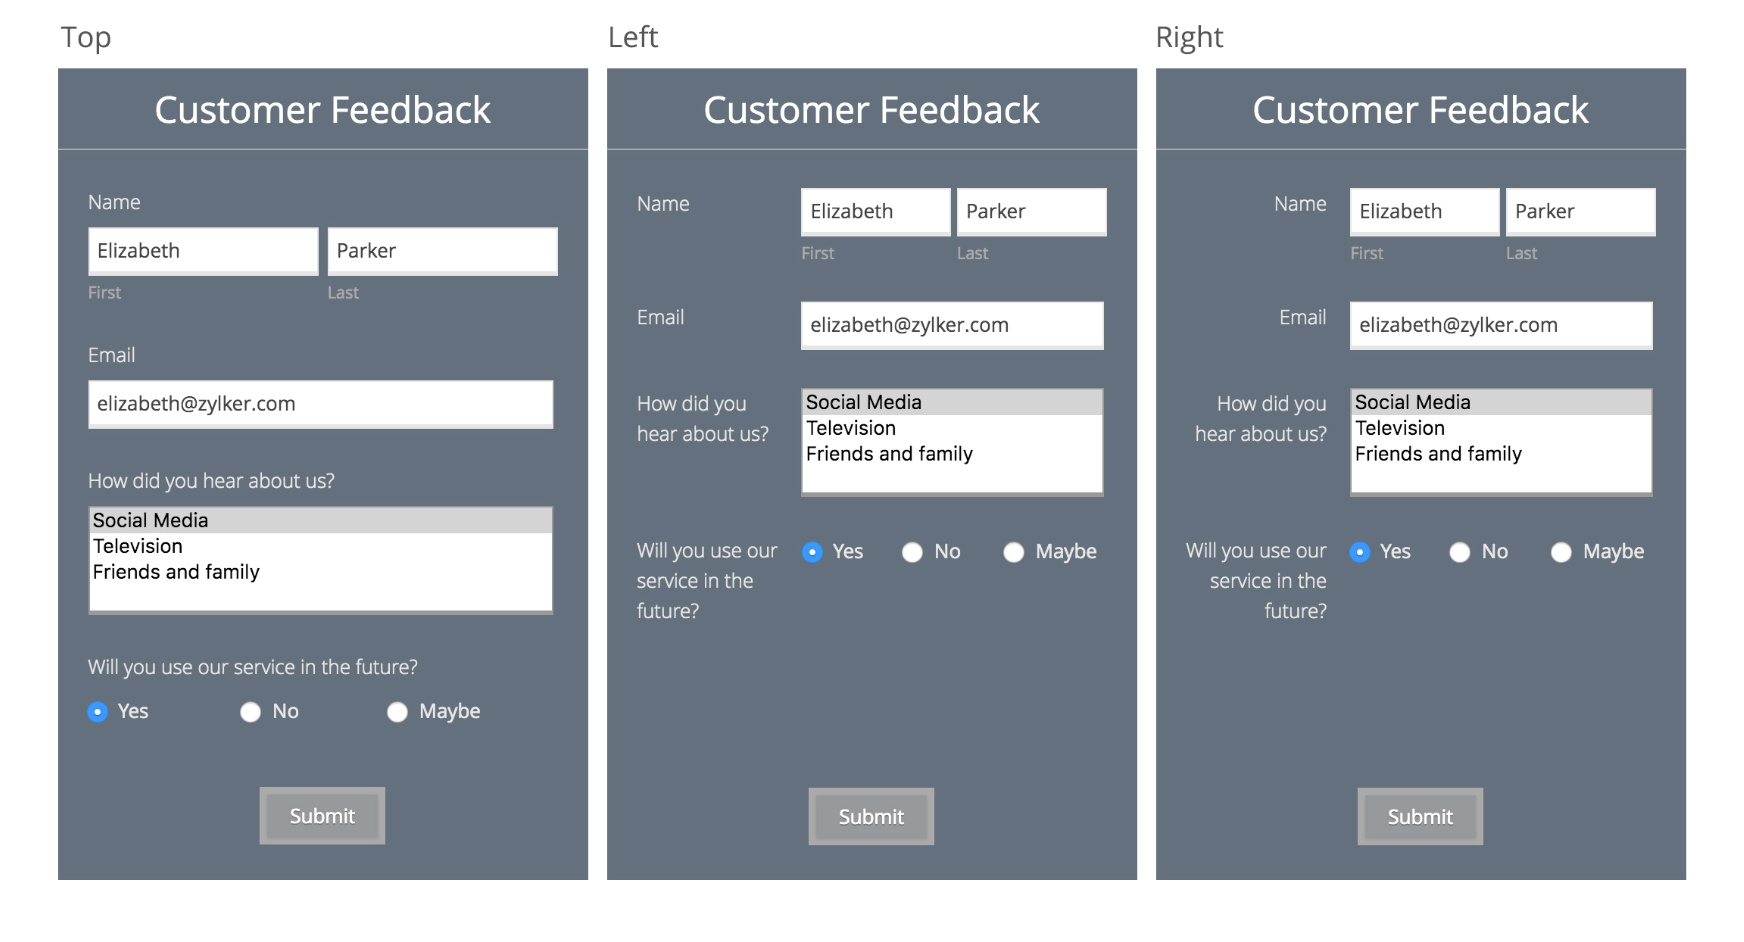
Forms
Contracts
Sites
Automations
Analyses
Contact migration
Users can export up to 200,000 contacts at a time in CSV format. These records, in CSV format, will be compressed and the download link will be available for 7 days.
Step 1: Export contacts
Preparing contact data for export: Recreate mailing lists and segments as tags to facilitate migration to CrocoClick. These are your migration-specific tags.
Export Zoho data: Go to Settings in the top right corner, then to the Data Administration section and select Export. Click Start Export > Module > Contacts on the data export page.
Select fields to export: Choose to export fields from the custom view, all fields, or specific fields. Fields must include email or phone number for migration to CrocoClick.
Download the data: Click Export. The export will appear in the export history table with the status In Progress. When the status changes to Complete, hover over the entry and click the download link.
Step 2: Prepare the CSV for import into CrocoClick
Check date formats: Ensure that all date fields in the CSV are in the YYYY-MM-DD format.
Special character encoding: Ensure that the CSV file uses UTF-8 encoding to handle special and accented characters correctly.
Clean up the data: Remove line breaks, emojis, and unnecessary special characters.
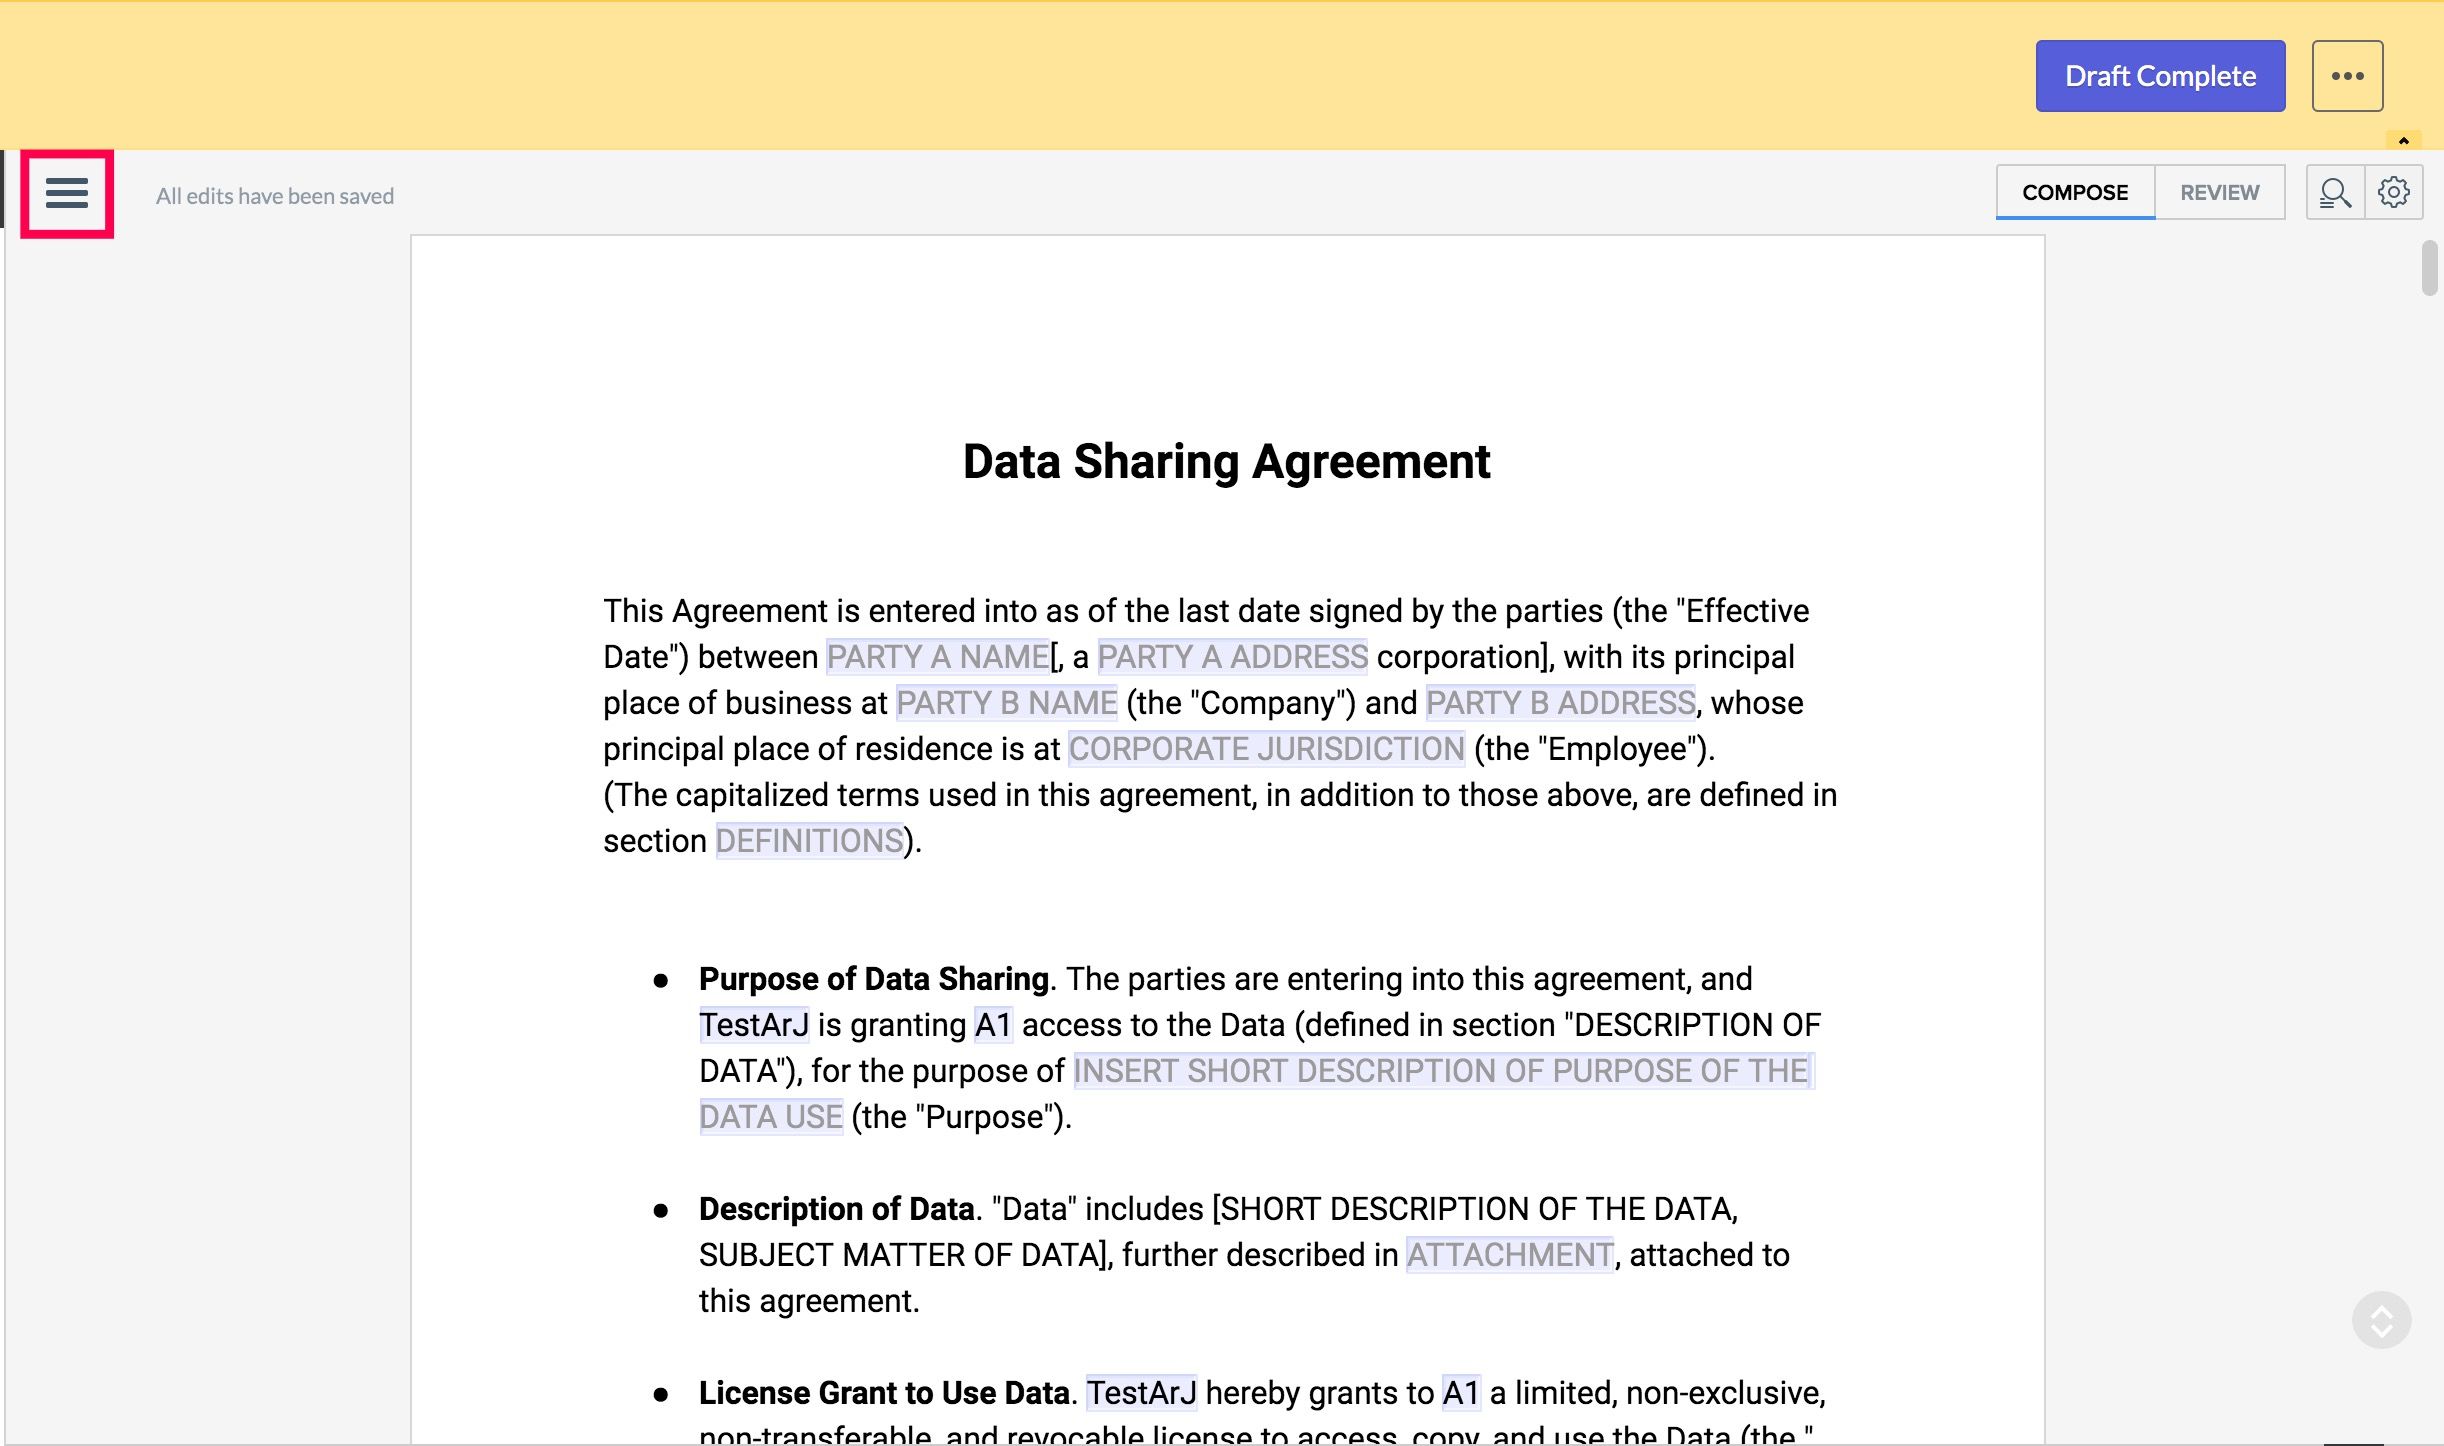
Recreate custom fields: Log in to CrocoClick and go to "Contacts > Settings > Custom Fields." Add custom fields to keep contact data as it is in Zoho.
Step 3: Import contacts into CrocoClick
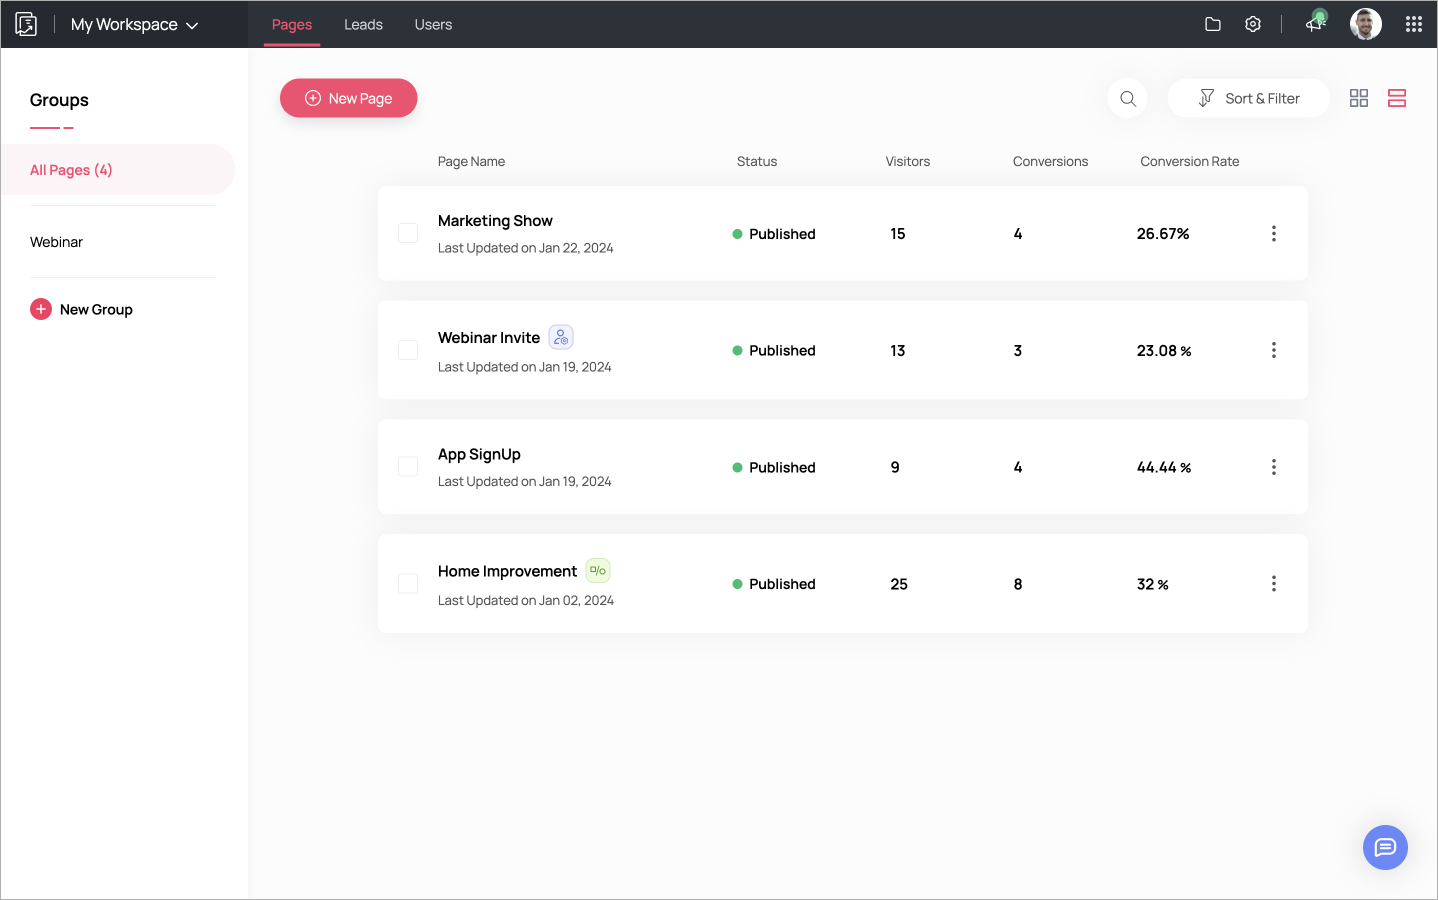
Log in to CrocoClick: Navigate to the "Contacts" section via the left-hand menu.
Start the import process: Click on the "Import contacts" button.
Upload the CSV file: Select and upload the prepared CSV file.
Map the fields: CrocoClick will ask you to map the CSV fields to the corresponding fields in CrocoClick.
💡 TIP: Make sure all required fields are mapped correctly. If a field in your CSV does not have a corresponding field in CrocoClick, you may need to create a custom field in CrocoClick before continuing.
Assign tags and lists: During the import process, you can assign contacts to specific lists and apply tags. Consider adding a tag indicating the source of the contacts, such as Imported from Zoho.
Finalize the import: After mapping all fields and configuring tags/lists, click Import.
Step 4: Verify imported data
Review: Ensure that all data imported into CrocoClick, including contacts and form submissions, is complete and accurate.
Create smart lists: Recreate smart and broadcast lists based on your migration-specific tags.
Verify with Zoho data: Compare the data in CrocoClick with the original Zoho data to ensure accuracy.
User migration
Zoho allows you to export up to 200,000 user records at a time in CSV format. You will need to manually add users to CrocoClick and configure their settings.
Step 1: Export users
Export data from Zoho: Go to Settings, then Data Management, and select Export. Click Start Export > Module > Users on the data export page.
Select fields to export: You can choose to export fields from the custom view, all fields, or specific fields.
Step 2: Prepare the CSV for migration to CrocoClick
Check user data: Open the CSV file as a spreadsheet and make sure each user has a unique email address.
Group users by teams: Determine the permissions for each team. In the table, classify users by team, specifying whether you want to recreate them for the agency or a specific sub-account. This allows you to efficiently copy user permissions to CrocoClick in the next step.
Step 3: Manually add users to CrocoClick
Add a user: Go to Settings > Team. Click + Add Employee.
Define the user type and role: Choose whether the user will be created for the agency or for a specific sub-account and specify their role (admin or user).
Assign permissions and sub-accounts: Configure permissions for each CrocoClick feature and assign the user to one or more sub-accounts.
Add the remaining users and copy permissions: Duplicate the permissions of users in the same team to save time and ensure consistency.
Calendar migration
Appointments must be exported from ZohoBookings, and calendars will need to be recreated manually in CrocoClick. Zoho Bookings is a scheduling tool that allows users to manage appointments and reservations with customizable pages and calendars.
Step 1: Export appointments to save them
Export Zoho data: Go to Settings > Data Management > Export. Click Start Export > Module > Go to the data export page.
Select fields to export: Choose to export fields based on the custom view, all fields, or specific fields.
Download the data: Click Export. The export will appear in the history with the status "In progress." Once complete, download the data.
Step 2: View all calendars in ZohoBookings for CrocoClick
Connect to ZohoBookings: Click on the Manage Business icon in the top right corner, then select your desired workspace in the Workspaces section.
List the services (calendars) in each workspace: Note the calendar settings, integrations, and users for each calendar.
Step 3: Recreate Zoho calendars in CrocoClick
Create calendars in CrocoClick: Go to Settings > Subaccounts > Calendars. Configure reminders, settings, users, and meeting locations as in ZohoBookings. For recurring appointments, manually set recurrence rules.
Add calendar integrations: Go to Settings > Subaccounts > Connections to add calendar synchronization.
Preview and test: Test calendars to ensure they match the current configurations in Zoho.
Opportunity and pipeline migration
Zoho deals and pipelines allow you to manage sales information. Each deal tracks the sales cycle, volume, status, and forecasts.
Step 1: Export opportunities from Zoho
Export Zoho data: Go to Settings > Data Administration > Export. Click Start Export > Module > Opportunities on the export page.
Select fields to export: Choose the relevant fields for importing into CrocoClick, including email or phone number.
Download the data: The export will be added to the history. Once ready, download the data.
Step 2: Recreate the pipelines in CrocoClick
Log in to CrocoClick: Go to Opportunities > Pipelines > + Add Pipeline. Create pipelines and stages similar to those in Zoho.
Add custom opportunity fields: Add fields similar to Zoho's "Deals."
Step 3: Import opportunities
Prepare CSV data: Make sure it meets CrocoClick's import requirements.
Add opportunities to CrocoClick: Go to Opportunities > Select the desired pipeline. Click on the three dots to import opportunities. Match the fields in the Zoho file to the corresponding fields in CrocoClick.
Step 4: Verify the data
Data verification: Review the imported data to ensure it is accurate and complete.
Migrate forms
Zoho Forms is an online form builder that allows users to create and customize forms with various field types, templates, and design options. It includes features such as conditional logic, multi-page forms, and integration with Zoho applications and third-party services.
Step 1: Export forms from Zoho
Log in to Zoho Forms: Access your Zoho Forms account.
Export form responses: Go to each form and manually export the form structure (if available). Export the responses in CSV format for backup.
Step 2: Recreate forms in HighLevel
Create forms in HighLevel: Log in to HighLevel, go to Sites > Forms, and create a new form. Recreate the form by adding custom fields and labels that match those in your Zoho forms.
Configure form actions: Set up automated actions in HighLevel, such as form notifications or conditional logic, to replicate Zoho's functionality.
Migrate contracts and documents
Zoho Contracts is a contract management tool that allows users to create, manage, and store contracts with customizable templates and clauses. It includes features such as electronic signatures, contract lifecycle management, and compliance tracking.
Step 1: Export documents from Zoho
Log in to Zoho: Select the Contracts tab at the top of the page.
Download contracts: Access each form and manually download copies of the contract structure (if available).
Step 2: Recreate contracts in CrocoClick
Create contracts in CrocoClick: Log in to CrocoClick, go to Payments > Documents & Contracts, and create a new document. Recreate the document by adding custom fields, text, and signatures to match those in your Zoho contracts.
Configure document actions: Set up automated actions in CrocoClick, such as sending documents, notifications, or signature order, to replicate Zoho's functionality.
Migrate websites
Zoho Sites is a drag-and-drop website builder with templates, SEO, and Zoho app integration. It includes e-commerce, blogging, and analytics options. Transferring to HighLevel requires manually copying content and files.
Step 1: Export site content from Zoho Sites
Log in to Zoho Sites: Access your Zoho Sites account.
Export site content: Manually copy the content if no export option is available. Save the HTML/CSS files or download the media files manually. Note the SEO information and page names.
Step 2: Recreate the site in CrocoClick
Rebuild the site in CrocoClick: Log in to CrocoClick and go to Sites > Funnels or Sites. Recreate each page and SEO configuration using the content exported from Zoho Sites.
Step 3: Disconnect your domain from Zoho
Log in to Zoho: Log in to Zoho Directory, then click Admin Panel in the left menu. Click the Custom Domain tab, then Delete under the desired domain.
Step 4: Connect your domain to CrocoClick
Log in to CrocoClick: Go to Settings > Domains > Add Domain. Enter the domain(s) for your new site.
Migrate automations
Automation in Zoho includes rule-based triggers, automatic responses, lead scoring, custom workflows, and integration with other Zoho applications. We need to collect the automation structure and recreate it in CrocoClick workflows.
Step 1: List automations in Zoho
List workflow rules: Go to Settings > Automation > Workflow Rules. View all active rules.
List automatic responses: Click on the Leads/Contacts tab, then on More Actions (3 dots) > Automatic Responses.
List lead scoring rules: Go to Settings > Automation > Scoring Rules.

Step 2: Recreate engagement scoring in CrocoClick
Reproduce lead scoring: Go to Subaccount Settings > Scoring Management > + Add New Rule. Adjust the calculation to match the Zoho configuration.
Step 3: Recreate triggers and actions in CrocoClick
Connect to CrocoClick: Go to Automation > Workflows.
Configure triggers and actions: Configure similar triggers and actions in CrocoClick, ensuring that all essential automations, such as auto-responses, email sequences, and task assignments, are recreated. Use engagement scoring actions to recreate the remaining scoring rules.
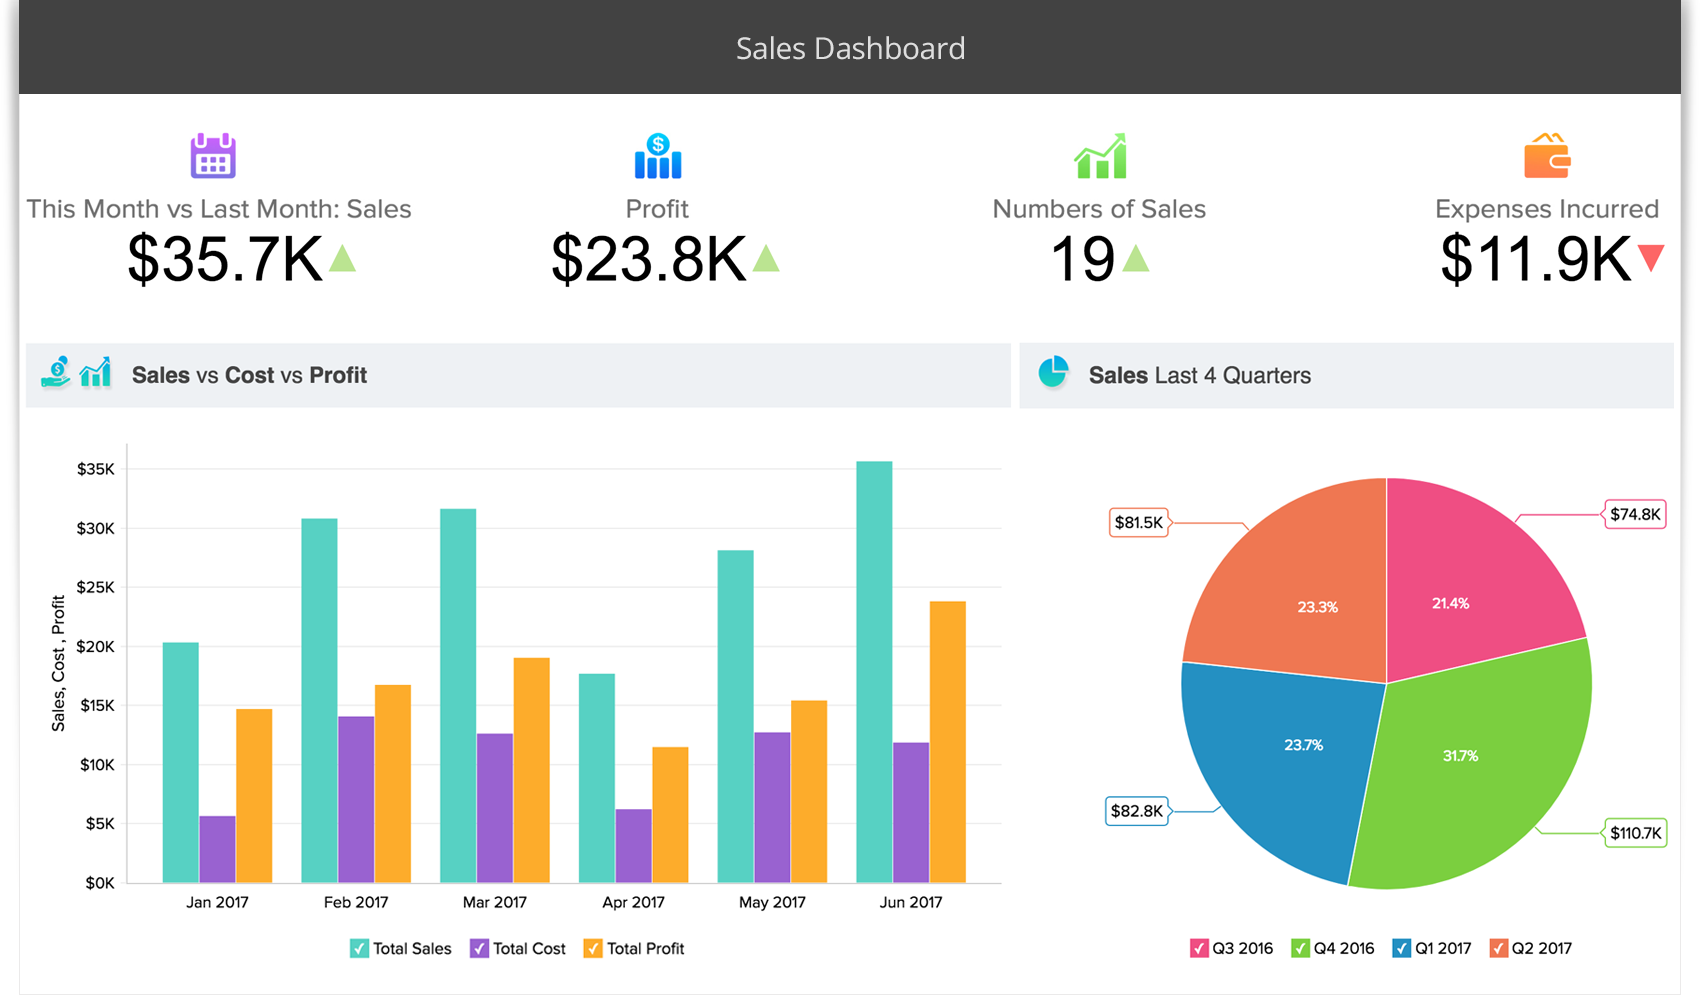
Migrate analytics
Zoho Analytics offers data analysis and reporting tools. As a final step, help the customer export data from Zoho and explore CrocoClick's reporting features!
Step 1: Export Zoho Analytics
Export: Manually export or copy all data and additional configurations from Zoho, such as analytics data.
Step 2: Discover CrocoClick's reporting features
Custom widgets: Recreate reports in dashboard widgets to match Zoho analytics (Pro plan users only).
Conclusion
Migrating from Zoho to CrocoClick may seem complex, but by following each step, you can ensure the smooth transfer of all your data and automations. With CrocoClick, you now have a powerful CRM and marketing tools to grow your business effectively.