How to create, modify & use Polls
Use CrocoClick to create interactive surveys with conditional logic, customizable and embeddable on your site.
Written By CrocoTeam
Last updated 2 months ago
Surveys are an excellent way to gather information about your prospects and improve your sales strategy. In this article, we’ll walk you through the process of creating and customizing surveys on CrocoClick, helping you make the most of its features.
Why use surveys?
Unlike traditional forms, surveys allow you to incorporate conditional logic, making them more interactive.
This helps you qualify or disqualify your prospects based on their responses and offer a more personalized experience.
Additionally, surveys have a more attractive design, meaning they can be sent without necessarily being embedded on a page.
Introduction to the Survey Builder
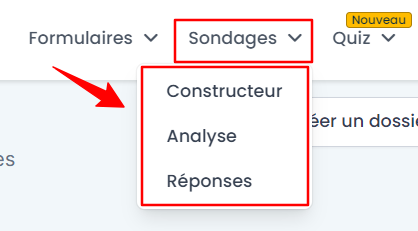
The CrocoClick survey builder is divided into three main tabs:
Generator – Create or edit your surveys.
Analysis – View responses with charts and statistics.
Responses – View and sort the responses received. You can search for a specific response by name, email, phone number, or contact ID.
Step 1: Create a survey
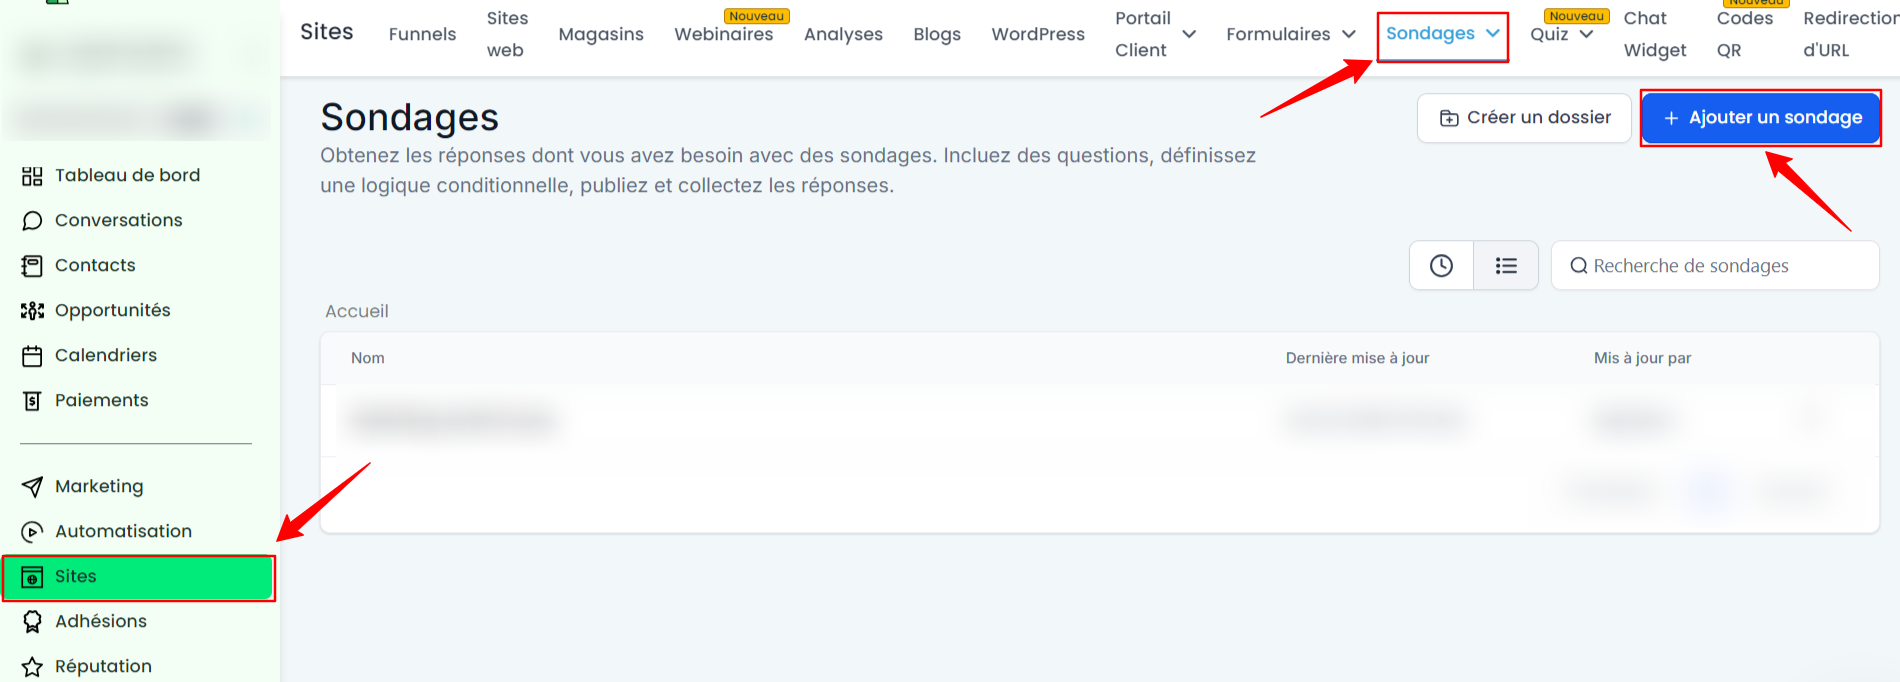
Access the survey generator: Go to Sites > Surveys and click + Add a survey.
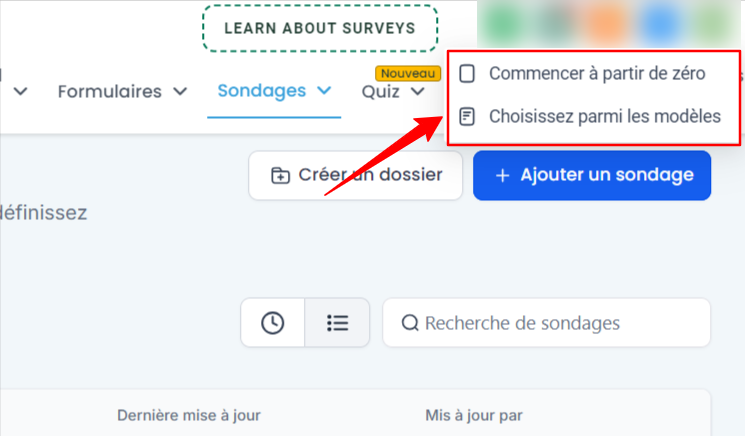
Start from scratch or use a template:
Start from scratch: Create a custom survey.
Templates: Select a pre-designed template to save time.
Step 2: Add and organize your survey elements
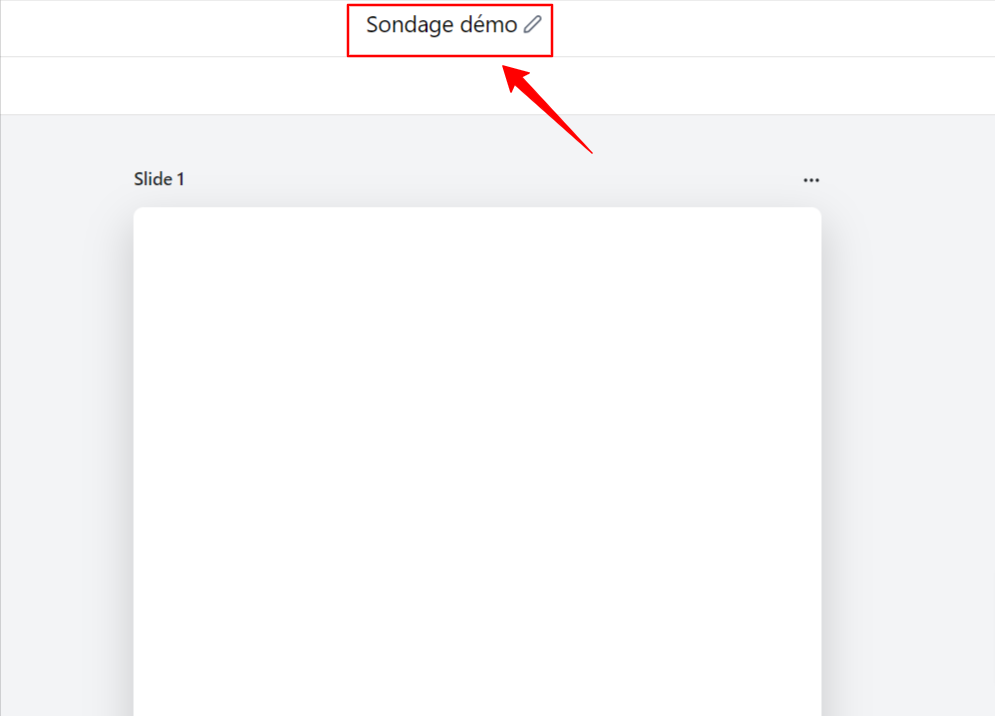
Edit the title: Click the pencil icon next to the survey name.
Add elements: Use the + sign to access the elements and drag them into your survey.
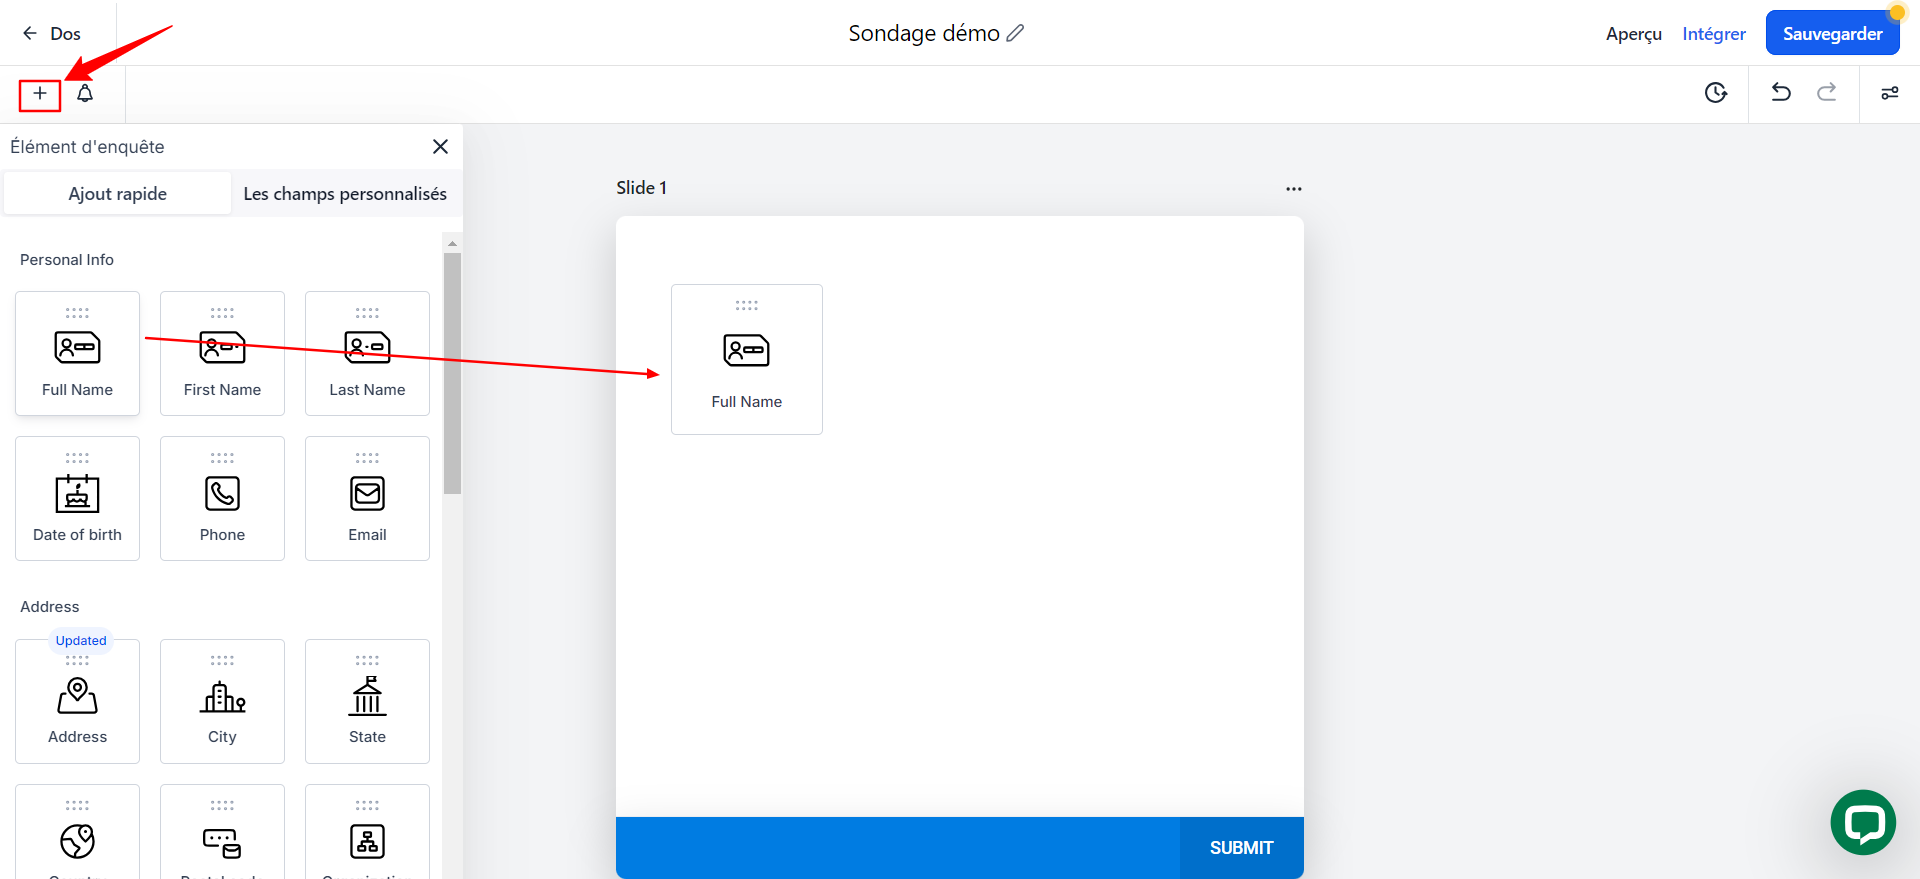
Quick Add: Here you’ll find various options. These are standard fields that appear by default in the contact form (Name, Email, Phone, etc.)
Custom fields: These are fields you can create, which will then be automatically saved in the custom fields section. These fields will be available for future forms, allowing you to reuse them and centralize information collected through various interactions.
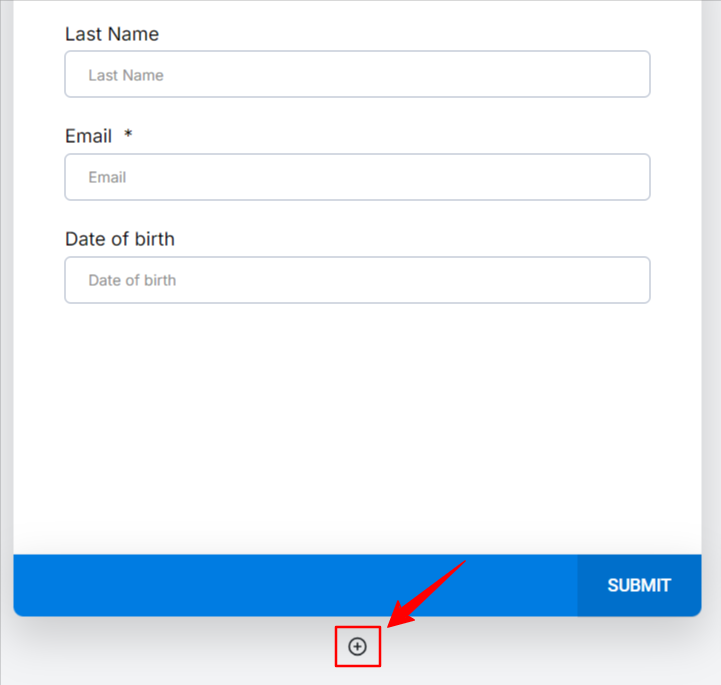
Slide Organization: For long surveys, you can add multiple slides to improve navigation flow. To add one, click the + sign located below the first slide, and so on.
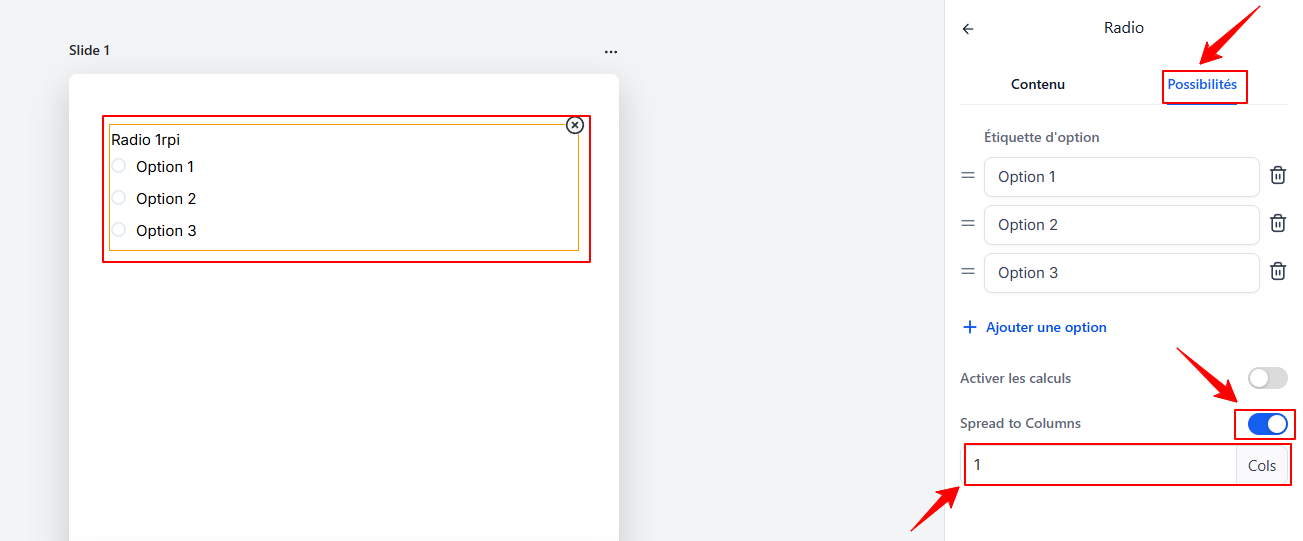
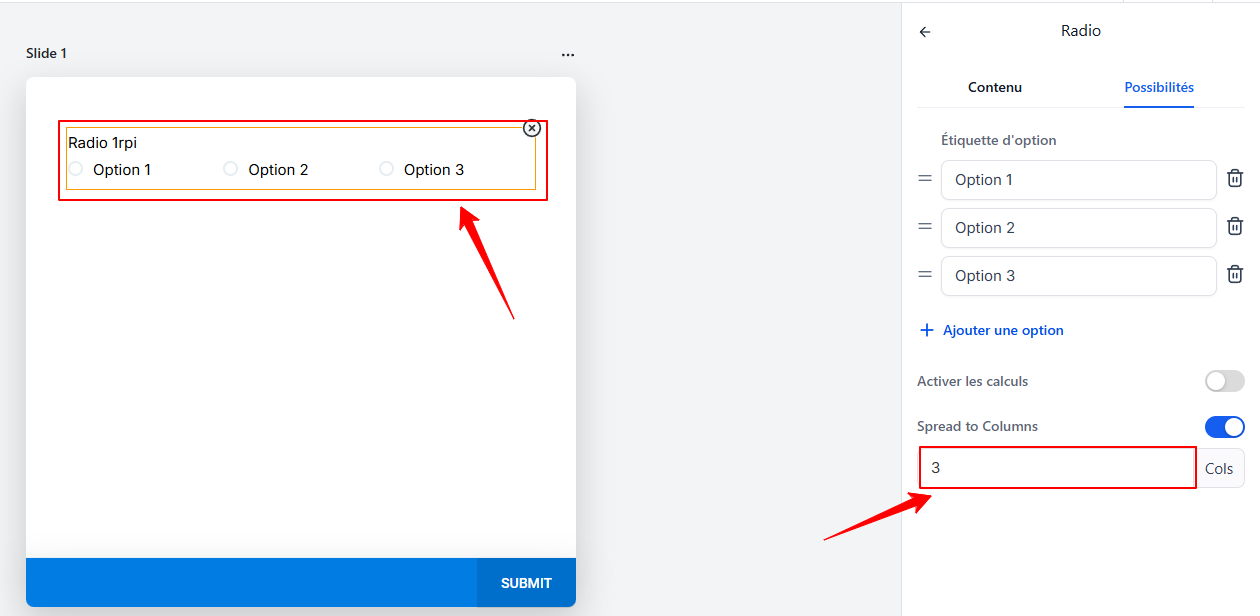
💡 TIP: Column Layout feature:
You can split your options (radio buttons, checkboxes, radio images) into multiple columns for better visual organization. To use this feature, go to the survey editor > select the radio buttons or checkboxes > go to Options > enable Spread to Columns > Enter the desired number of columns
Step 3: Customize your survey’s style
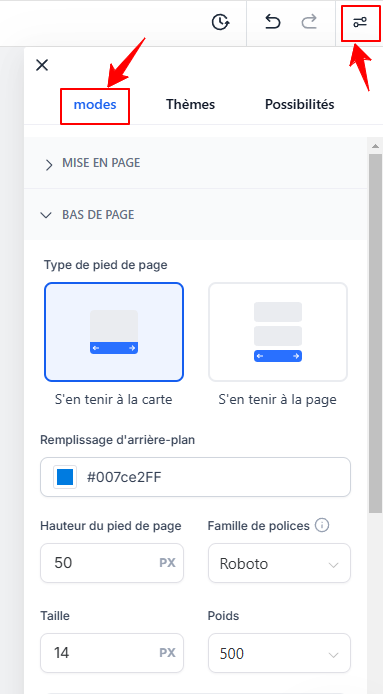
On the right side, click the icon on the right, then go to Styles to modify:
Layout: Input style, width, field spacing, label alignment, etc.
Footer: Add an image that covers the entire page.
Colors: You can customize colors, add a background image, or add a header image
Miscellaneous: You can enable or disable the agency’s branding image.
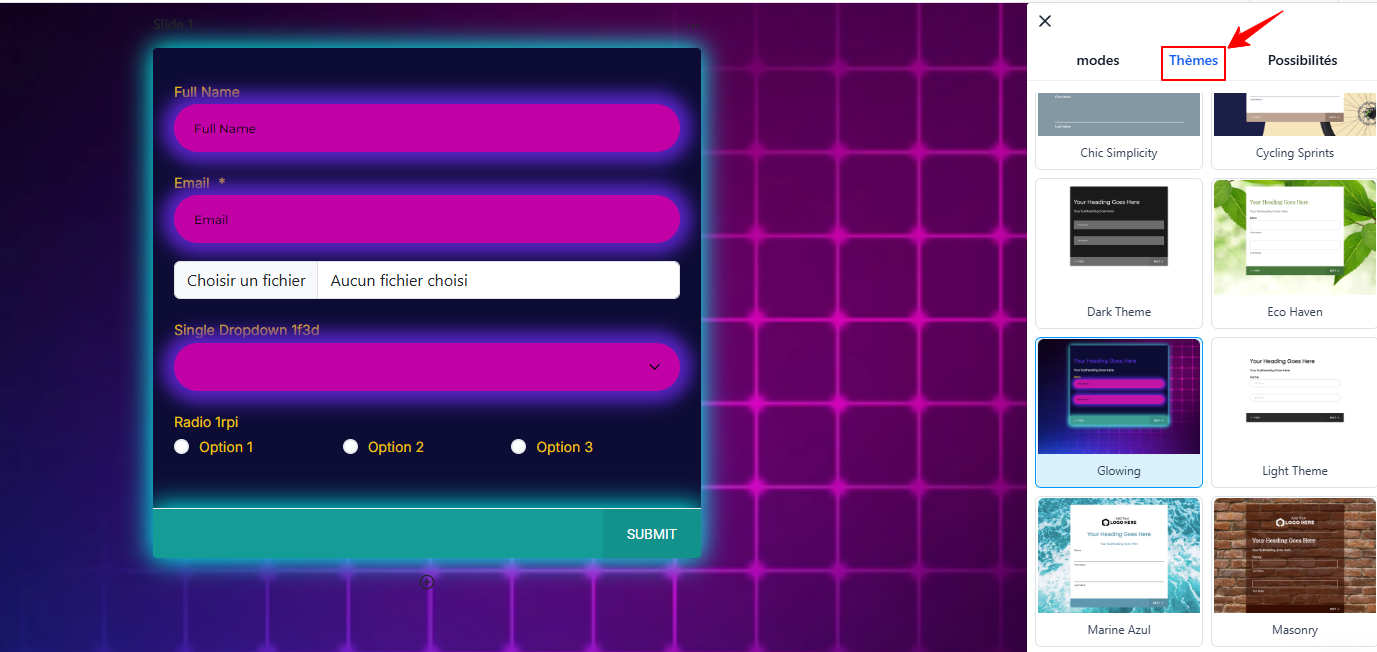
Note: Ready-to-use themes:
Under Themes, you can choose from a wide range of professionally designed themes suited to different styles and purposes.
All themes come pre-loaded with a background, field style, font, size, button design, and more. Below is an example of what the Glowing theme looks like.
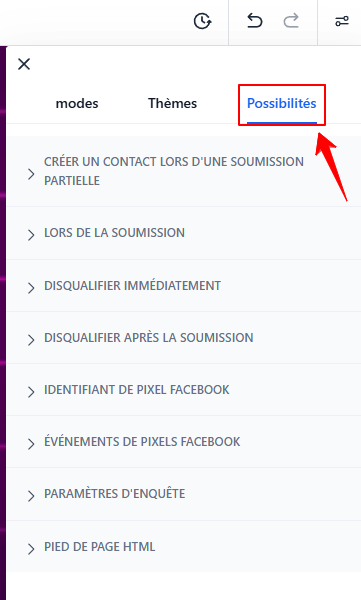
Note: Using the "Options" tab
Under "Options," you can configure various settings for your survey, such as determining what happens upon submission (whether there is a page redirect or a message), adding a Facebook pixel ID, and enabling the time zone, etc.
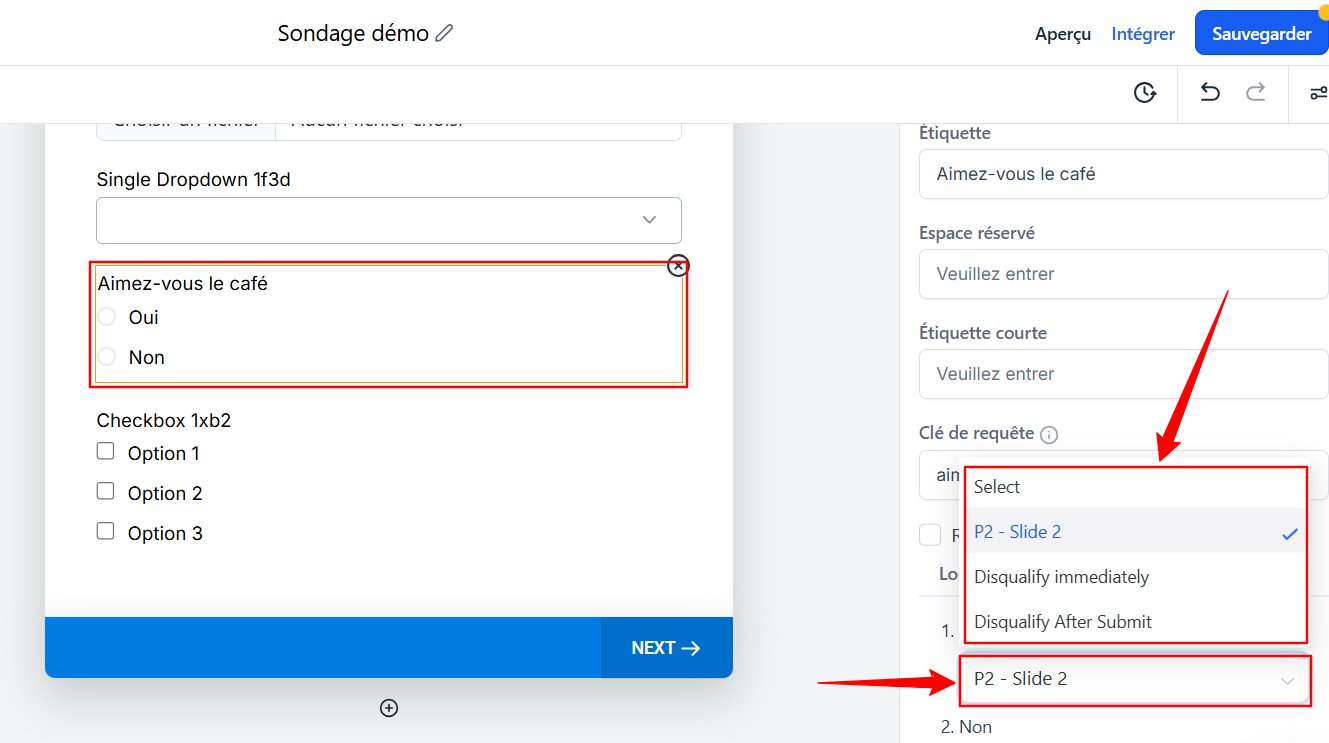
Step 4: Add conditional logic (optional)
With conditional logic, you can redirect respondents to specific sections of your survey or disqualify a prospect based on their answers.
For example, a “Yes” answer could redirect the prospect to the next slide, while a “No” could disqualify them.
💡 TIP: Use conditional logic to guide your prospects toward the answers that interest you most.
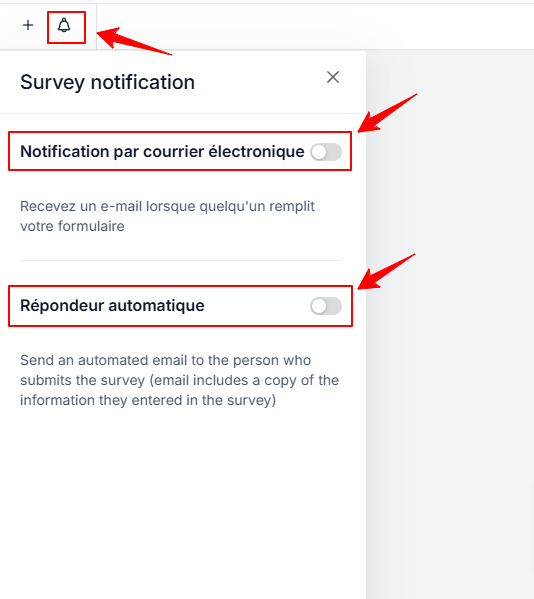
Step 5: Set up notifications and autoresponders
Enable notifications: Receive email notifications every time someone submits a survey.
Autoresponder: Enable the autoresponder to automatically send the prospect a submission email containing a copy of the information they submitted.
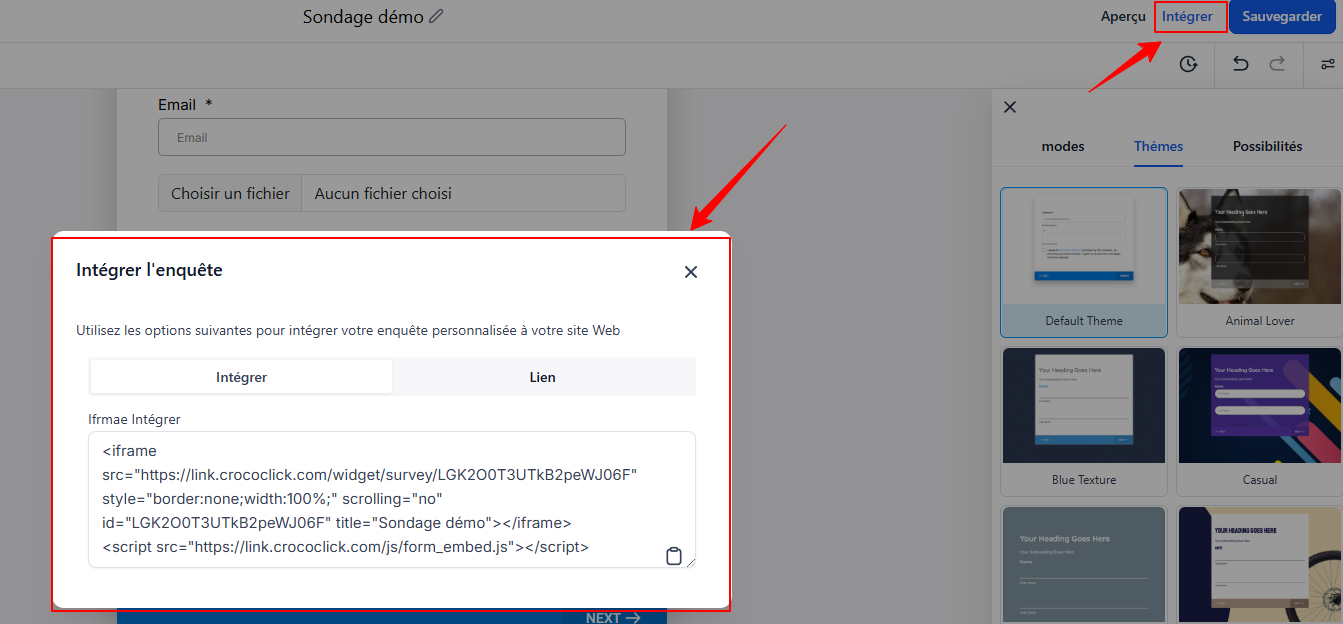
Step 6: Embed your survey into your website or funnel
Once your survey is ready, you can use it on any CrocoClick website or funnel using the “survey” block in the page builder.
And if you want to use your survey elsewhere, click Embed to get a link or embed code.
The embed code can be included on an external website.
The link can be pasted into an SMS or email.
💡 TIP: Surveys can also be directly embedded in a calendar to make it easier to collect information when scheduling appointments (check the calendar settings to learn more about this).
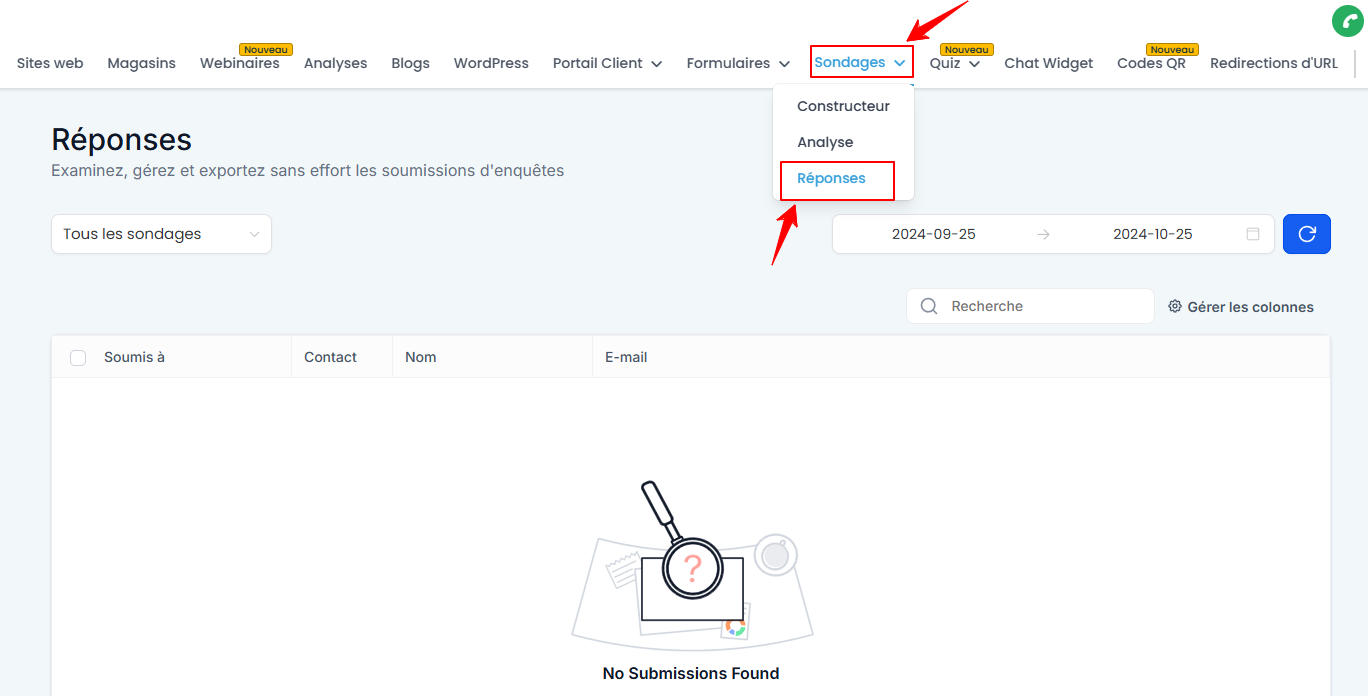
Step 7: Analyze the submissions
Go to the Responses tab to view all responses. You can sort and search by contact (name, email, phone number) and adjust the visible columns as needed.
FAQ
1. What is the difference between a survey and a form? Surveys allow you to use conditional logic to qualify leads. Forms, on the other hand, are static and simply collect information.
2. How do I access the survey builder? Go to Sites > Surveys to create, analyze, or view submissions.
3. How do I view the responses to one of my surveys? Go to Sites > Surveys > Responses to view all responses to your surveys.
4. Can I modify the standard survey fields? No, standard fields cannot be modified system-wide, but you can customize them individually for each survey.
5. How do I revert to a previous version of my survey?
The version history allows you to restore a previous version of your survey if you wish to revert to a previous state.